Table of contents
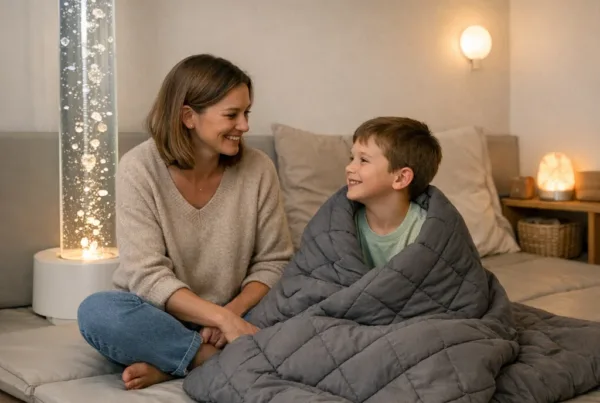
A sensory room safe for children is one where every sensory input is controlled, predictable, and protected against common hazards like unstable equipment, glare, choking risks, and overstimulation. With professional autism and sensory-processing experience, safety is treated as a design system—not an afterthought—so children can access calming input without unnecessary danger.
This guide explains how to plan, build, and maintain a sensory room with safety at the centre, including risk-reducing materials, lighting that won’t trigger sensory overload, and structured routines that support communication and self-regulation.
Highlights
- Make sensory rooms safe for children by controlling hazards: fall risks, loose items, small parts, and unstable installations.
- Reduce sensory injury and overwhelm using adjustable lighting, quiet zones, and predictable sound levels.
- Design for supervision with clear sightlines, emergency exits, and routines that match each child’s triggers.
- Maintain cleanliness and hygiene with washable materials and safe replacement schedules.
Start with the safety definition: what “safe” really means
In sensory-room design, “safe” does not only mean “no injuries.” A functional sensory room is safe when it is physically secure (no sharps, pinch points, trip hazards, or unsafe chemicals), sensory-safe (inputs can be toned down, varied, or paused), and behaviour-safe (the environment supports regulation rather than escalating distress).
For families and professionals, this matters because the same feature can be helpful or harmful depending on sensory profile, arousal level, and developmental stage. A child who loves bright motion may become dysregulated in a different context, while another child may experience discomfort from the same visual stimulus within minutes.
Trust the “control panel” approach
Experienced designers treat the room like a control system: lights can dim, sound can be reduced, and equipment is fixed and supervised. Instead of “turn everything on,” safety includes the ability to begin low, observe response, and adjust quickly.
For example, an educator in a school sensory room may set up “start-neutral” conditions: dim warm lighting, no moving bubbles, and one selected texture zone. Only after the child demonstrates tolerance would a therapist trial a slowly changing light element.
Contrast: safe vs unsafe setup (realistic scenarios)
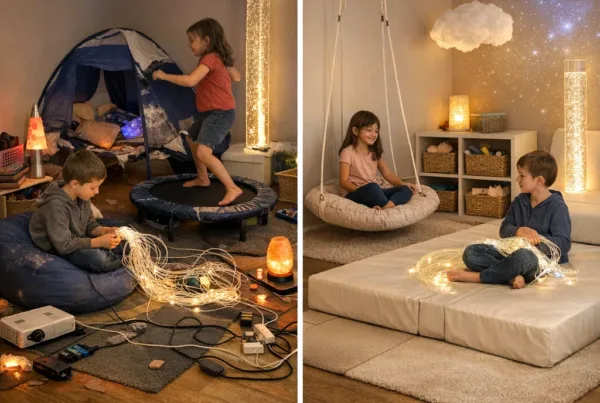
Good safety setup: bubble tube equipment is mounted securely, cables are fully covered and out of reach, and the child has a clear exit path to a quieter corner. The lighting can be softened if the child shows signs of overwhelm (covering ears, pacing faster, staring without engagement).
Risky setup: an array of glittery lights is left on full brightness; loose cushions are stacked in a way that can collapse; small accessories are reachable while supervision is distracted. In these scenarios, risk rises even if each individual item seems harmless.
Plan the room layout around supervision and movement
A sensory room is most effective—and safest—when it prevents the need for “search and rescue.” Children may move unpredictably during dysregulation, so design guidance should assume the child could sprint, jump, or climb. Layout choices should support staff presence, safe circulation, and quick access to the child’s regulation tools.
Before purchasing equipment, map the room using a simple checklist: where staff stand, how a child enters/exits, where they can calm down, and what routes remain clear at all times. If staff cannot see the child’s entire playing area, safety must be increased through reduced hazards and fewer simultaneous stimuli—not ignored.
Use clear sightlines and designated zones
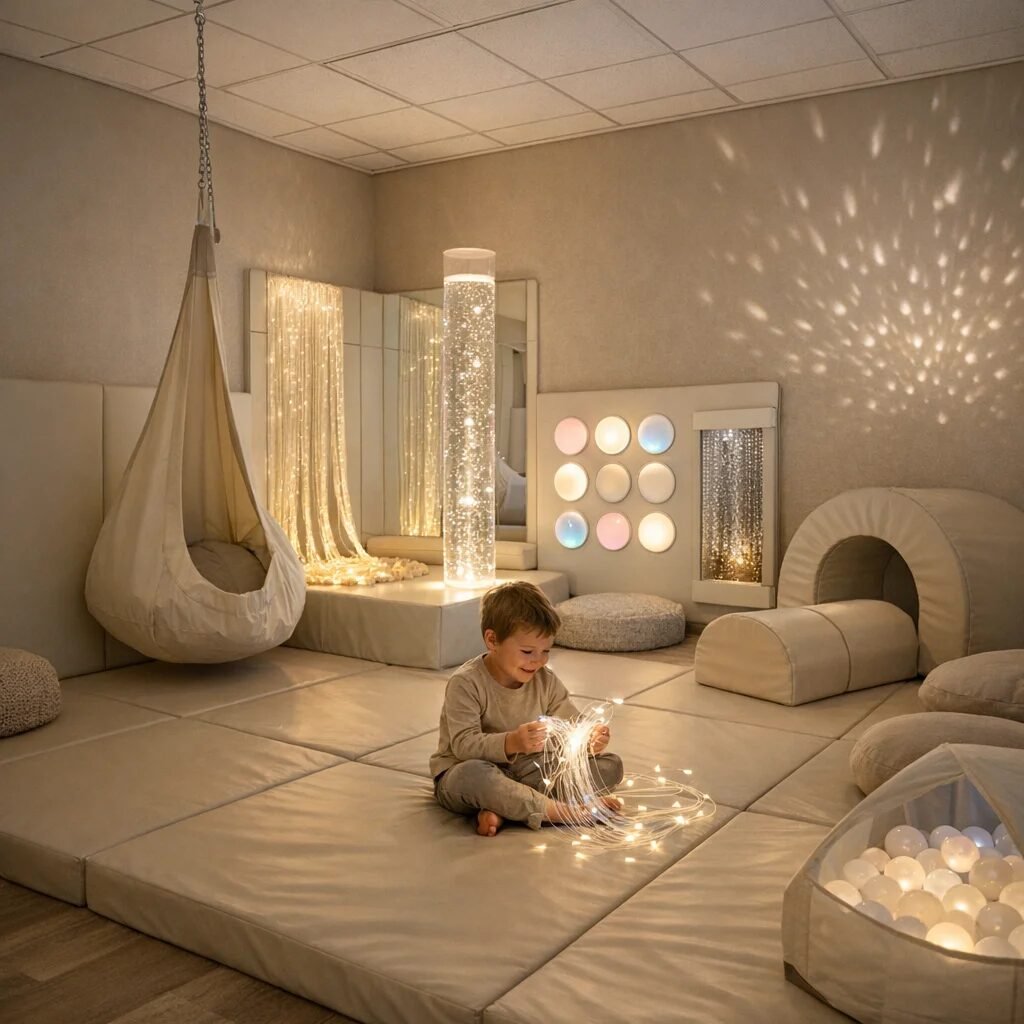
Create 2–4 zones, each with a purpose and a safety function. Common zones include a quiet decompression corner, a tactile exploration area, an active movement or proprioceptive space, and a visual/auditory input station. Each zone should have boundaries that are physical (furniture positioning) rather than dependent on verbal instructions alone.
In therapy settings, a mirror-free or low-reflection area may be essential for children who interpret reflections as confusing. In school settings, a clear “do not cross” zone helps manage transitions when attention is shifting quickly between activities.
Reduce trip and pull hazards
Trip hazards are among the most common safety risks in sensory spaces: low rugs that curl at edges, baskets placed within pathways, and cables routed across floors. The room should use hard-to-trip flooring transitions (or tape-down safety edges that remain flush) and keep all cables either routed through cable channels or placed behind protective barriers.
If equipment needs power, use child-safe cable management. A therapist may set up a bubble tube near the wall rather than in the middle of the room so tubing and wiring remain hidden and out of reach, while the child approaches it from a safe angle.
Choose child-safe materials and install items correctly
Material choice strongly influences safety. Many sensory products are designed for comfort, not durability under intense sensory seeking. A safe sensory room uses materials that handle frequent wiping, withstand pulling/grabbing, and do not shed risky fibres or create splinters.
In particular, consider the child’s age and motor profile. A toddler may mouth surfaces; an older child may climb and test boundaries. Both can experience harm from the same poorly secured items.
Prioritise chewable/mouthing safety and hygiene
For children who mouth objects, porous fabrics and easily damaged foam can become hygienic and safety problems. Prefer wipeable, non-fraying materials for sensory stations used regularly. Replace items that show wear (tears, foam exposure, peeling surfaces) rather than trying to “patch” them.
Hygiene also matters for allergies and respiratory comfort. Avoid strongly scented cleaning products that can become a sensory trigger, and ensure ventilation is adequate, especially when using any foam-based or fabric-heavy equipment.
Control fall and impact risks
Impact injuries can occur when children jump off low furniture, collide with hard corners, or fall during active sensory play. Soft play or foam blocks can help, but safety improves more when hazards are removed: secure furniture, round or pad sharp edges, and place high-risk items in areas with appropriate fall protection.
For a tactile, beanbag or compression-style tool, stability matters. A child who flops forward may roll off a surface if it isn’t positioned safely. A stable, low-surface option is often better than a tall, soft seat that encourages risky climbing.
Pad hard edges and protect installation points
Do not assume “wall padding” means the whole wall is safe. Corner joints, shelf brackets, and exposed fasteners can create pinch and impact points. Cover these carefully and check regularly for loosening.
In practice, many teams add protective padding and then do a “hands-on hazard patrol” weekly: pressing around corners, tugging for loose fixtures, and scanning at child height for edges, gaps, or objects that could be thrown.
Lighting and sound: make the room sensory-safe, not just comfortable
Lighting and sound can either calm a child or intensify threat signals. Sensory safety means supporting predictable intensity and reducing the risk of accidental overstimulation. Instead of bright multi-colour effects as default, lighting should be adjustable and dimmable.
For children with autism, ADHD, and sensory processing disorder, visual complexity can trigger scanning, avoidance, or agitation. For some children, flickering or rapid colour change may feel physically uncomfortable. Safety is improved when staff can turn down intensity immediately and when equipment is positioned to limit glare.
Use dimmable, warm lighting for decompression
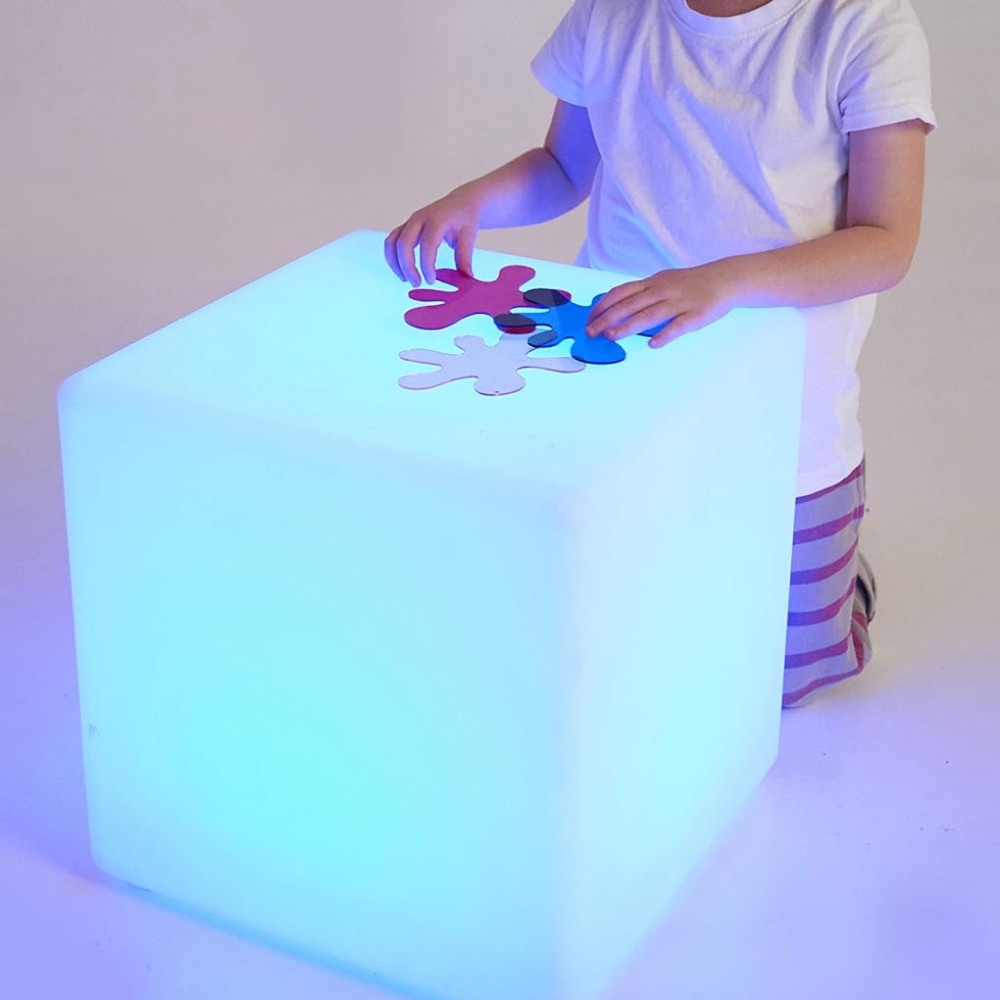
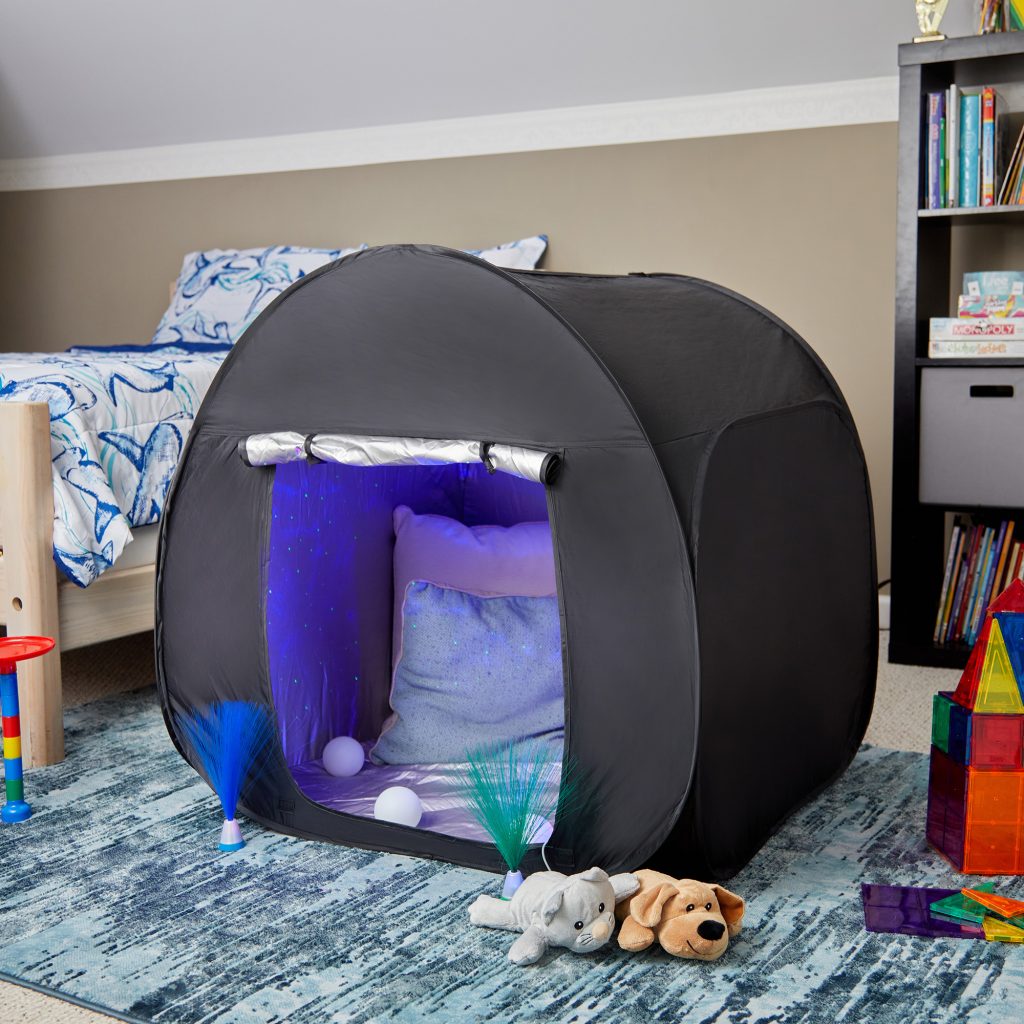
Warm, dim illumination is often a good starting point. Bright overhead lighting can create glare and shadow, increasing stress responses. A common safe practice is to keep overhead lights switched off and use a single controllable light source in the calming zone.
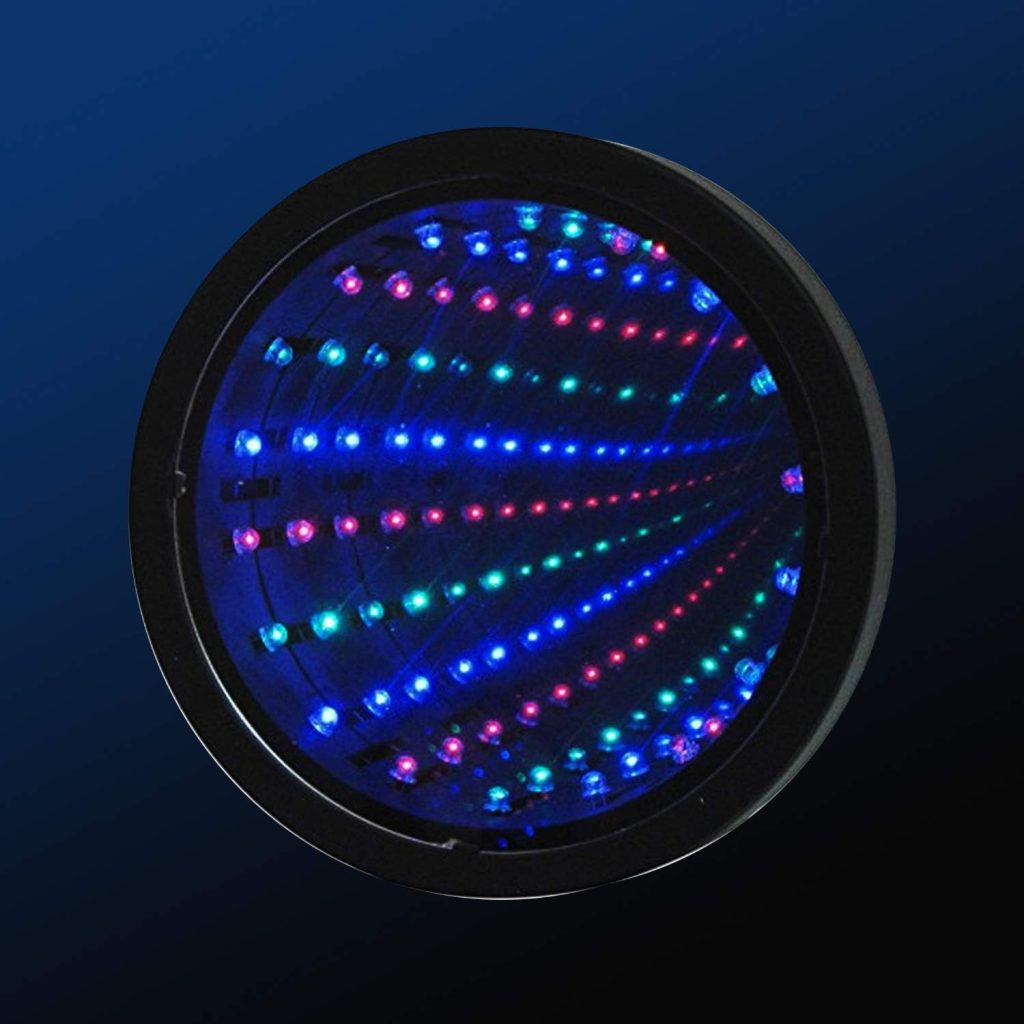
Examples of calming-friendly product types include low-intensity mood cubes or projectors. If choosing a projector-style device, ensure it is stable and cannot fall, and keep it aimed away from child eye line where possible.
For visual calming options, teams often trial products such as a Galaxy Projector for controlled, low-level image stimulation—always using the lowest setting first and providing an “off” option immediately.
Manage sound with control and staff behaviour
Sound safety is often underestimated. If a bubble tube includes motor noise, or if multiple devices play simultaneously, children with auditory sensitivity can become overloaded quickly. Sound-safe rooms establish a maximum noise level policy: one sound source at a time, and staff control volume and start/stop timing.
For children who need very low stimulation, provide a quiet option such as soft seating and thick textiles that reduce echo. For children who seek sound input safely, limit it to one device and allow the child to choose “on/off” with staff support.
Comparison: soothing light vs overstimulating light
Soothing setup: slow-moving or low-brightness projection, stable position, dim warm base lighting, and only one visual effect running for a short trial (2–5 minutes).
Overstimulation setup: multiple flashing sources, bright reflective surfaces near seating, and no ability to quickly reduce intensity.
Use sensory equipment safely: stability, supervision, and age fit
Sensory equipment should be safe by design and safe by how it is used. Stability, age-appropriateness, and supervision level determine whether the equipment supports regulation or unintentionally increases risk.
Some children enjoy movement-based input (rocking, spinning, flowing motion), while others may be distressed. Safety includes matching equipment to the goal for that session rather than using every feature at once.
Flow and motion: protect cables and prevent falls
Motion tools like bubble tubes create soothing tactile visual input for many children. Safety improvements include secure mounting, cable concealment, and keeping water-related equipment away from areas where a child could slip. Also confirm equipment weight and ensure the surface beneath it is stable and non-slip.
If selecting a bubble tube system, consider adding it in a fixed corner with controlled access. A common example is a Bubble Tube Tank Vortex Tower, used with staff supervision and a clear “approach boundary” so it’s not bumped during emotional escalation.
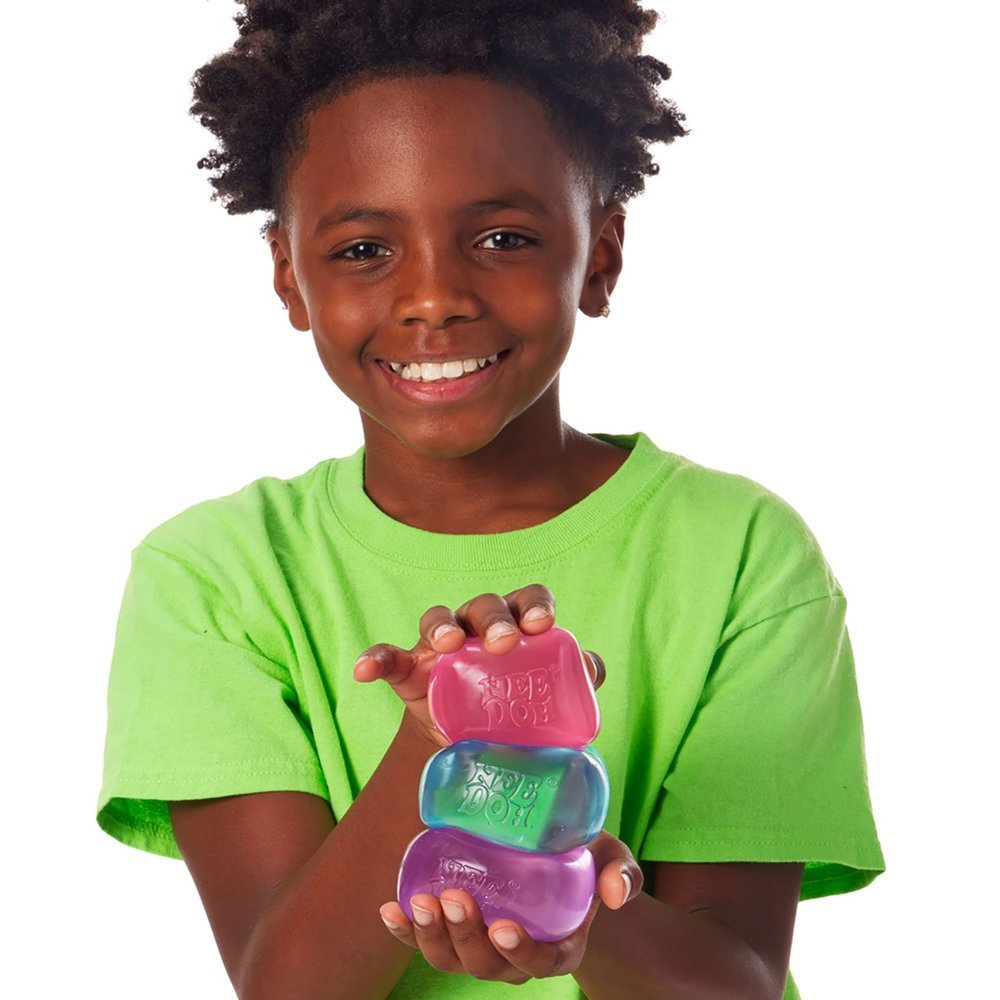
Tactile and compression tools: check for pinch points
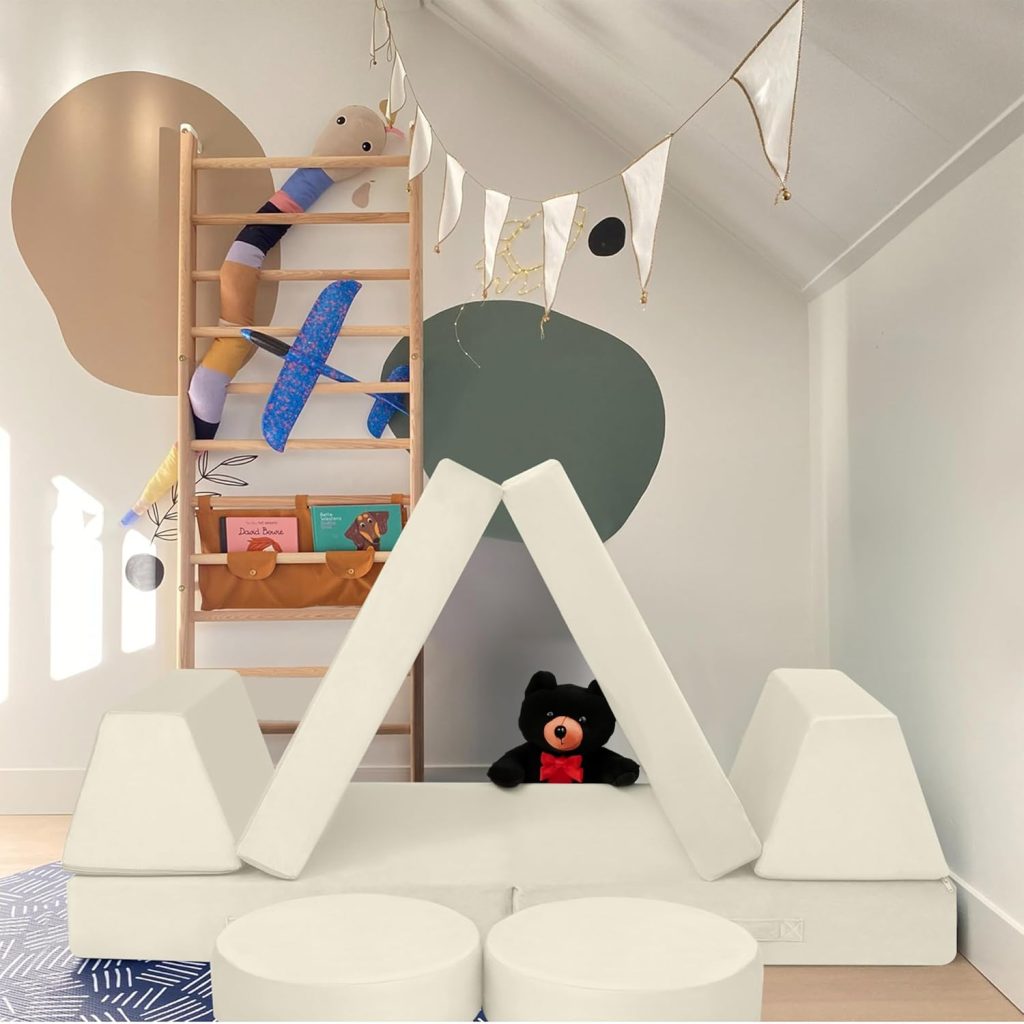
Texture tools—foam blocks, tactile cubes, soft play panels—need safe edges and durable stitching. Before use, staff should check that seams do not gap and that textures are securely attached. With compression-style tools, ensure the structure cannot collapse unexpectedly.
For tactile exploration, many teams add foam block sets designed for soft play. A practical option is an Soft Play Explorer Set Foam Blocks, which can be arranged to create safe climbing and stepping patterns when corners are padded and pathways remain clear.
Seating safety: stability and safe “fall zone”
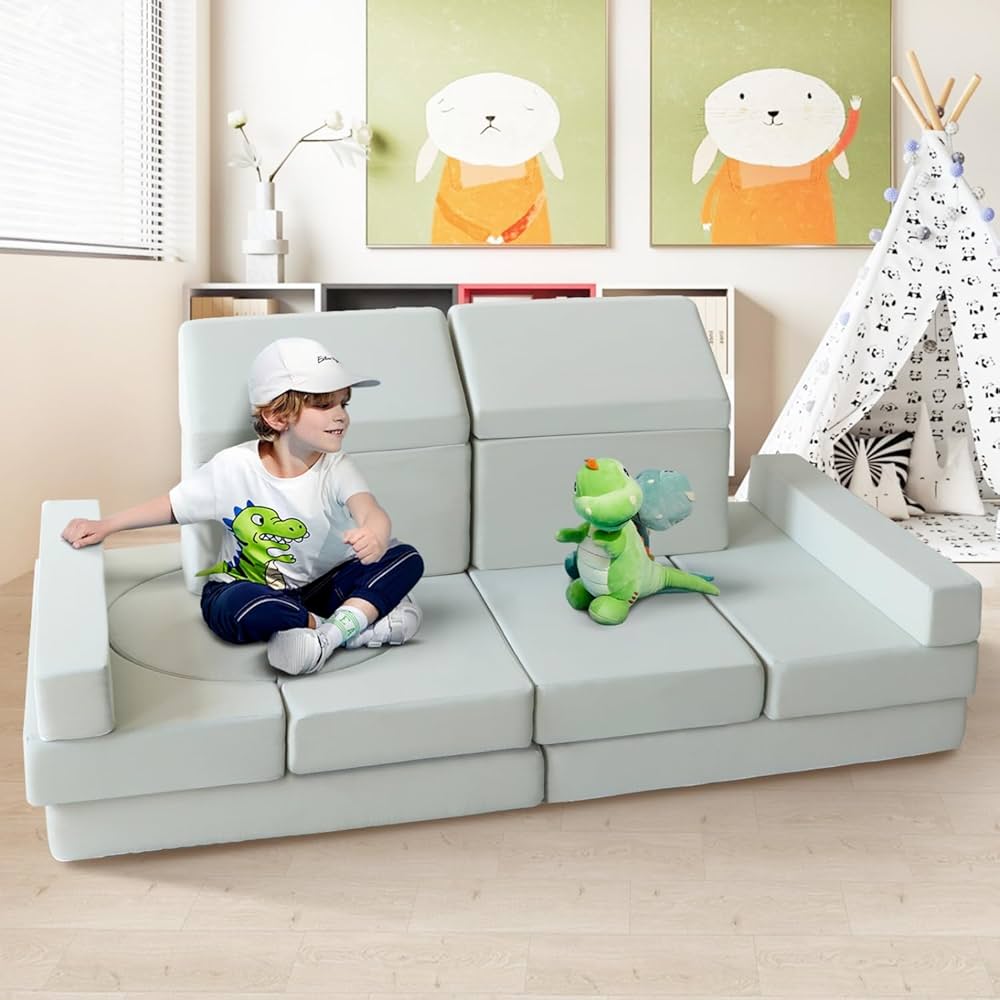
Soft seating is often central to calming. The safest seating is stable, non-slip, and low enough to minimise injury if a child collapses. Some children try to stand on seats; others push or throw cushions when distressed. Choose seating that discourages risky climbing and keeps fill material contained.
For active seating that supports sensory needs, a modular approach can reduce risk by preventing unstable stacks. A Kids Modular Play Sofa can work well where supervised reconfiguration is expected and where seating stays anchored to the floor plan.
Common safety mistakes (and how teams fix them)
Professional teams learn quickly that sensory safety errors often feel “minor” until a child escalates. The same room can be safe on calm days and unsafe on high-alert days. Therefore, routines, maintenance, and risk reviews are part of safe design.
The most common mistakes usually come from treating accessories as decorations, leaving equipment on by default, and underestimating cable/contact hazards.
Mistake 1: leaving small items within reach
Small sensory tools, loose beads, or removable parts can become choking risks or cause ingestion. Even when items are age-labelled, the child’s behaviour may be different from what packaging assumes. Items should be secured, or only used during supervised sessions with “handed out then returned” procedures.
Fix: store small items in a locked tub or cupboard. Use an “access schedule” where tools are placed only when needed and retrieved after the activity ends.
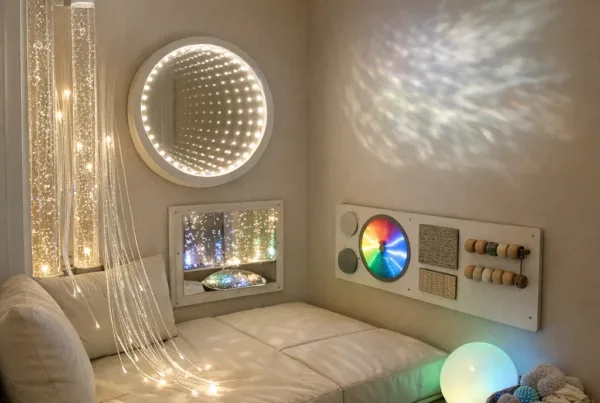
Mistake 2: using mirrors or reflective surfaces without a plan
Mirrors can cause confusion, visual self-triggering, or repetitive staring. Some children find reflections regulating; others experience it as destabilising. Safety includes psychological comfort, not only physical hazards.
Fix: if mirrors are used, trial them with one child at a time, observe response for several minutes, and provide an immediate “mirror off” pathway if distress occurs.
Mistake 3: turning on every sensory feature simultaneously
Overlapping inputs (colour changes plus bubble motion plus sound plus textured flooring) can quickly exceed the child’s processing capacity. This is a top reason sensory rooms fail, even when equipment is “high quality.”
Fix: use a hierarchy: one visual feature, one tactile feature, one soothing input. Add complexity only when the child consistently stays regulated.
Mistake 4: ignoring cable management and device placement
Loose cables and unstable placement can cause trips, pulling, or equipment failure. Many sensory devices require power; safety is achieved in the routing and hiding of cables, plus stable mounting where relevant.
Fix: route cables behind furniture or into covered channels. Choose equipment with stable bases and avoid stacking items that could tip during movement.
Step-by-step: build a safer sensory room from scratch
The following step-by-step approach helps parents, educators, and therapists create a sensory room safely while keeping the design focused on regulation outcomes.
Step 1: define the child’s purpose for the room
Safety planning becomes clearer when the team writes down the main goal: decompression, sensory seeking, emotional recovery, or skill practice. Each goal suggests different sensory inputs and different safety controls.
For example, a decompression room should start low-intensity and prioritise comfort exits. A sensory seeking room still needs safety controls, but motion tools may be used in a planned, single-device way.
Step 2: run a “sensory risk audit”
List potential hazards: glare, flicker, loud motors, unstable floor rugs, sharp edges, small removable parts, and chemical scents from cleaning products. Then decide which hazards must be removed entirely and which can be managed with supervision.
Teams often create a one-page “room rules” sheet with staff responsibilities, including what to do if a child becomes overwhelmed (turn off lights, reduce sound, move to calm corner, remove access to motion devices).
Step 3: choose a safe base setting
Set up the room with the lowest-stimulation condition first. Keep overhead lighting off or dimmed. Keep sound sources off until needed. Place one seating option and one calm tactile option within reach.
When a child enters, staff can then decide whether to add a second, then a third input—never everything at once.
Step 4: add sensory tools only after staff practise safe transitions
Equipments are most beneficial when routines are predictable. Staff should practise handing equipment to the child, using it for a short duration, and returning it to storage safely. That practice reduces impulsive grabbing and reduces the chance of equipment being thrown.
Step 5: document outcomes and refine
After sessions, record what helped and what triggered. If a lighting tool causes distress, reduce brightness, shorten exposure time, or remove it from that child’s plan. Safety improves when decisions are data-informed rather than “trial-and-error forever.”
Special considerations for autism, ADHD, and sensory processing needs
Children with autism and attention differences may have sensory hyper- or hypo-responsiveness, and regulation can shift quickly. Safety design should therefore accommodate both ends: calming for overload and structured options for seeking.
For ADHD, rapid transitions and novelty can be challenging. A safe sensory room uses predictable lighting/sound patterns and limits simultaneous choices. For sensory processing disorder, the same stimulus can feel safe one day and uncomfortable the next; adjustable intensity and quick removal of triggers are essential.
Use visual supports and choice without chaos
Choices support autonomy, but choices must be safe. Instead of offering a wall of equipment, provide 2 options at a time using simple visuals (picture cards or a small choice board). The room becomes a “safe decision space” rather than a stimulus buffet.
When a child escalates, remove the additional choices. Return to the base calming setting and reintroduce options only after arousal drops.
Account for non-verbal communication and self-protection
Some children cannot explain discomfort. Safety requires staff to recognise early warning signs and respond quickly: covering ears, refusing proximity, rocking faster, rapid pacing, sudden facial flushing, or freezing behaviours.
Provide a clear quiet exit route and train staff to initiate support consistently. Safety is strengthened when adults follow the same response “script” each time.
Cleaning, maintenance, and ongoing safety checks
Safety is not a one-time build. Sensory rooms accumulate wear: Velcro loosens, edges fray, fibres shed, and electrical connectors degrade. Maintenance is the practical part of safety that protects both physical health and sensory comfort.
Set a maintenance schedule and include sensory safety checks: wipe down surfaces using non-scented products when possible, inspect seams, replace worn foam, and check all mounting points and cable covers.
Create a weekly safety routine
A practical weekly routine can take 15–20 minutes and prevent most issues. Staff can check for loose fittings, inspect rugs for curling edges, confirm the stability of equipment, and verify that lighting and motion devices can be safely turned off instantly.
Older rooms should be re-evaluated after furniture rearrangements, new equipment additions, or changes in the children using the space.
Consider allergy-safe and skin-safe materials
Tactile equipment can irritate skin if materials are rough or worn. Safety improves by using covers that can be washed, ensuring hypoallergenic options when needed, and avoiding products that shed microfibres or have strong chemical odours.
For children with eczema or tactile sensitivity, testing a small section first and observing the skin response helps avoid longer-term irritation.
When additional proprioceptive or compression supports are requested during therapy, a child’s tolerance should be tested carefully and supervised. Stability and skin-safe selection matter as much as softness.
FAQ: sensory room safety for children
How can a sensory room be safe if my child stims or runs around?
Safety improves when the room is built for movement: clear pathways, stable equipment, padded edges, and controlled sensory inputs. Staff should use a low-stimulation base setting and remove motion/light elements quickly when arousal rises.
What lighting is safest for children in sensory rooms?
Warm, dim, and adjustable lighting is usually the safest starting point. Avoid bright overhead glare and choose effects that can be turned off instantly if the child shows early signs of distress.
Are bubble tubes or bubble machines safe for children?
They can be safe when securely mounted, supervised closely, and positioned away from trip hazards and slip risks. Cables should be protected, and sessions should use the lowest effective intensity for the child.
What should never be used in a sensory room?
Items that create choking risks, sharp edges, exposed cords, unstable stacking furniture, and strong chemical odours should be avoided. Decorative glitter and loose small parts are common problems if supervision lapses.
How many sensory items should be used at once?
For many children, one or two sensory inputs at a time is safest. Overlapping motion, colour, and sound can overwhelm children with autism or sensory processing differences, reducing the room’s calming value.
How should staff respond when a child becomes overstimulated?
Staff should reduce intensity immediately: dim lights, turn off motion/sound elements as appropriate, and guide the child to the quiet decompression zone. The response should be consistent and predictable, using the same steps each time.
Do sensory rooms need to be customised for different children?
Yes. Sensory preferences and triggers vary widely, even among children with the same diagnosis. Customisation can be as simple as adjusting lighting, changing texture access, and choosing which devices are active in a given session.
For further context on condition-specific assumptions, see whether sensory rooms are only for autism or other conditions too.