Table of contents
In small homes, sensory rooms can still be effective when ideas are scaled to the space and matched to the child’s sensory profile. The best sensory room ideas for small spaces focus on a few high-impact zones—calming, movement, and touch—using flexible furniture, low-clutter layouts, and controllable sensory input. Drawing on clinical practice with autism, ADHD and sensory processing needs, a well-designed compact space can reduce overload, support regulation, and make transitions between activities easier.
Highlights
- Small sensory rooms work best with 2–3 purpose-built zones: calm, regulating movement, and tactile engagement.
- Lighting, sound, and pace of input should be adjustable to match arousal levels moment-to-moment.
- Wall and floor-based sensory tools reduce clutter and maximise usable space.
- Safety, predictability, and clear “go-to” routines prevent over-stimulation.
Start with the sensory goal, not the shopping list
A sensory room is not a “bigger is better” space. In tight rooms, the priority is choosing what the room will do reliably: help a child get regulated before school, support communication during distress, or provide a safe outlet for sensory seeking. A compact design succeeds when it targets function—rather than trying to include every popular sensory item—because sensory overload can happen even in just one crowded corner.
Clinically, sensory needs are often described in terms of thresholds: some children are easily overstimulated (low tolerance), while others seek more input to feel organised (high seeking). For autism and ADHD, this can shift by time of day, fatigue, hunger, and changes in routine. The design should therefore allow quick “intensity changes” without major rearranging, so the room can be used for both up-regulation (energy, movement) and down-regulation (calm, withdrawal).
Definition: “Sensory regulation” in a small room
Sensory regulation is the process of adjusting sensory input (light, sound, touch, motion, and even movement) to bring the nervous system closer to an optimal state for attention, learning, and emotional control. In small sensory rooms, regulation is achieved by using fewer tools more strategically and keeping the environment consistent and predictable.
A practical first step: write a one-sentence job description
Professionals often use a simple planning frame: “When (trigger) happens, the room helps the child do (goal).” For example: “When noise at home increases and frustration builds, the room helps the child calm safely in under 10 minutes.” Once this statement is clear, layout choices become obvious—what belongs in the calm zone, what belongs in movement, and what should be removed because it causes extra sensory load.
Parents and educators can reinforce this with a short visual plan (even a single laminated card). A compact room can feel “bigger” when sensory choices are limited and clearly named: “Quiet light,” “Touch seat,” “Movement mat,” or “Bubble time.”
Small-space layout: use zoning, vertical space, and one-way traffic
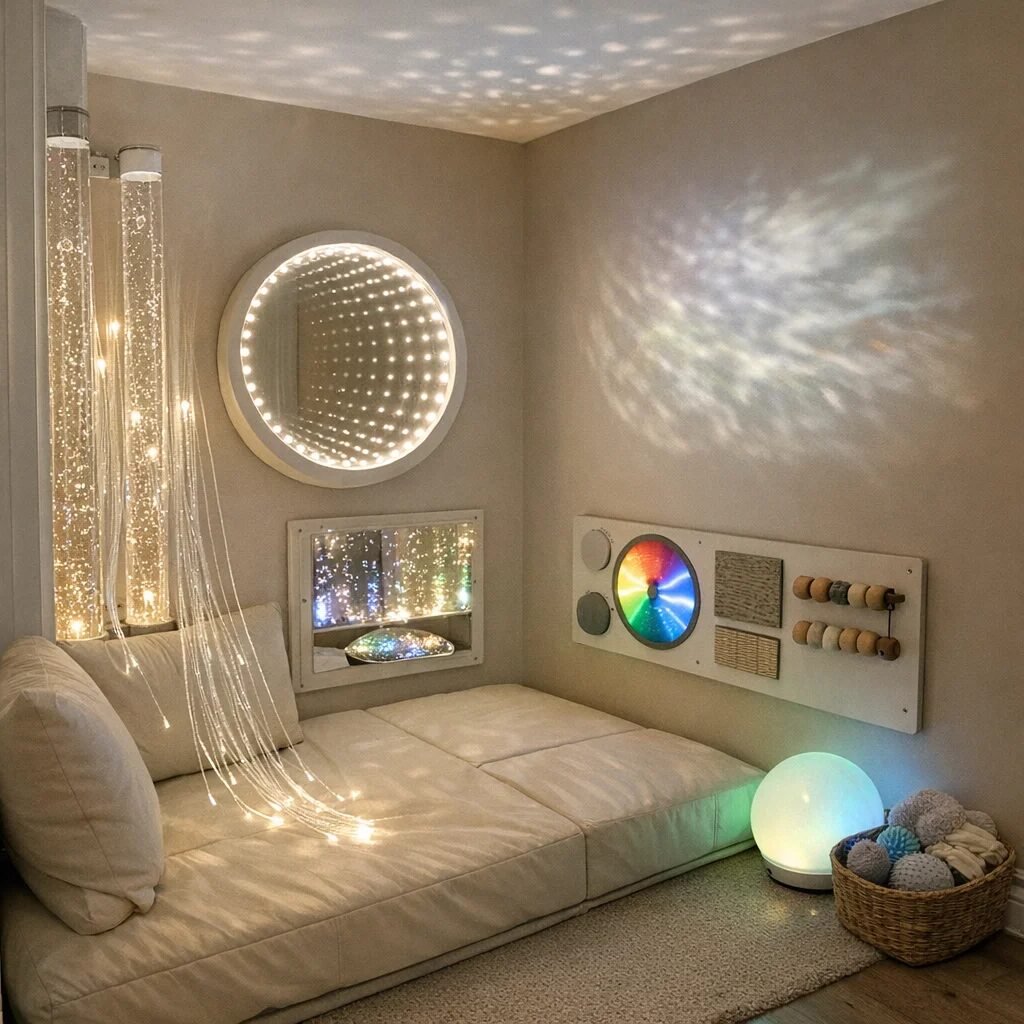
The most common small-space mistake is trying to create a “mini version” of a large commercial room. In practice, compact rooms need fewer items and smarter placement. Zoning means allocating specific areas for specific sensory functions: calming, sensory input, and movement. Even within a corner, these zones reduce confusion and support faster regulation.
Vertical space is a major advantage in small rooms. When sensory tools go on walls—projectors, activity panels, light strings behind safe guardrails—floor space stays usable for walking, seating, and quick exit. This approach is particularly helpful for children with limited body awareness or balance needs, where trip hazards become more serious when rooms are crowded.
Step-by-step setup for a 2-zone compact sensory corner
Step 1: Choose one “quiet” side (where the child can sit or lie down) and one “active” side (where movement input is possible). If the child tends to pace during distress, make the movement side the easiest side to access.
Step 2: Place a calming seat first. Examples include a beanbag-style option like Sensory Bean Bags (use for short, supported resets).
Step 3: Add one controllable visual tool in the quiet zone—often a dimmable projector. A compact option such as Galaxy Projector works well when placed high enough to avoid direct glare.
Step 4: Define the entry path. Leave a clear walking lane and ensure cables and small parts are secured away from the path. For many families, this “one-way traffic” design prevents accidental overstimulation (e.g., child rushing through and activating all equipment at once).
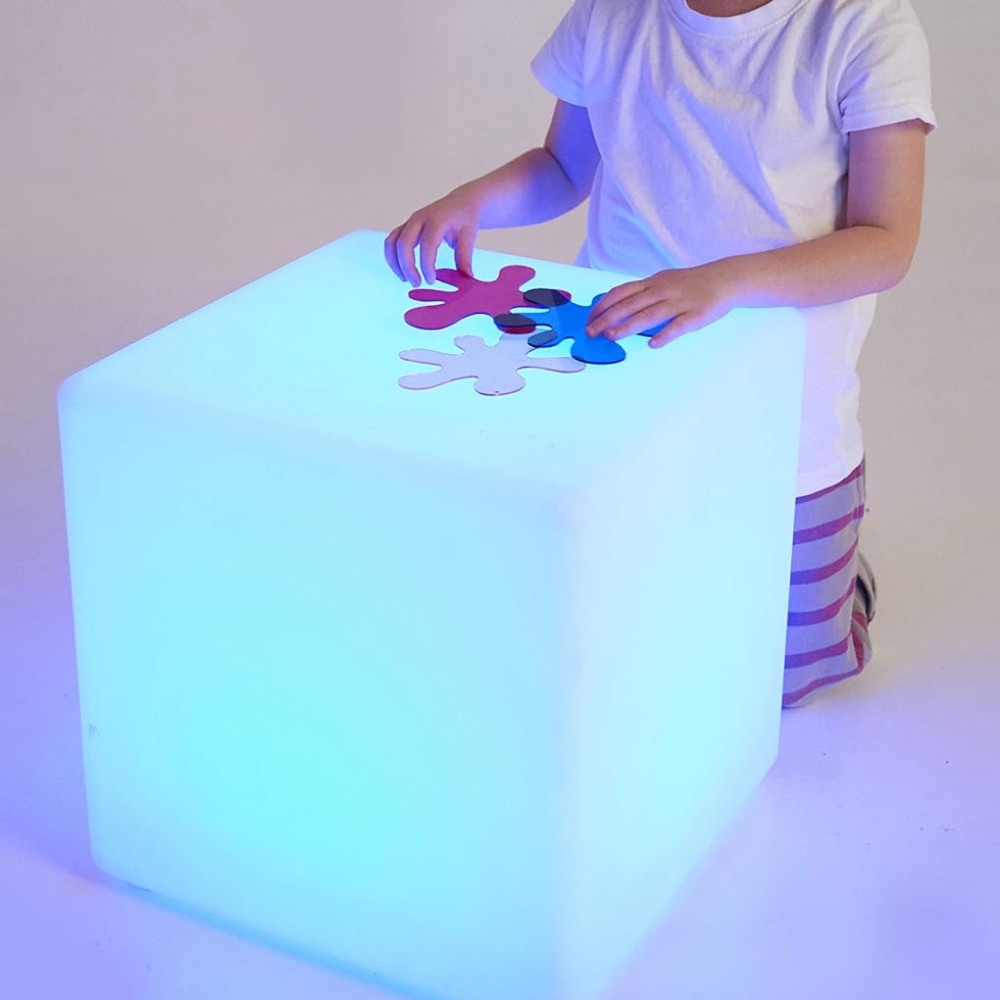
Step 5: Add one tactile option reachable from the calm seat but not visually dominant. This could be a tactile light cube in the corner or a floor-friendly sensory surface.
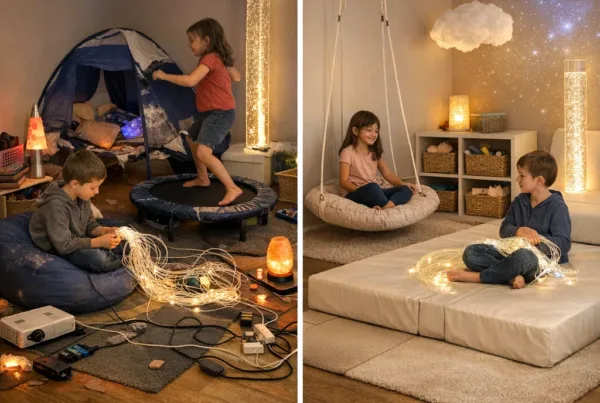
Effective vs poor small-room setup: a quick contrast
Effective: only one visual source is on at a time, the calm seat is in a predictable spot, and the movement tool is separated so it can’t be triggered during quiet time.
Poor: multiple bright devices run simultaneously, items are scattered with no clear zones, and the child has to step over or around equipment to access safety. In real use, that often leads to longer dysregulation cycles because the environment becomes an extra stressor.
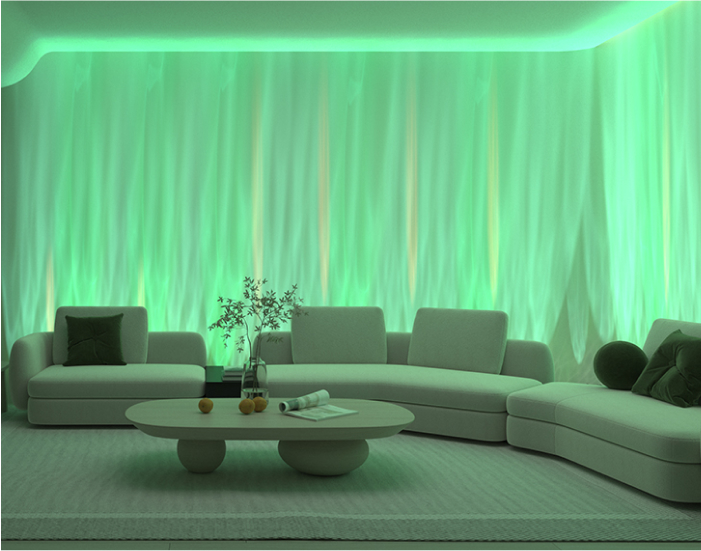
Lighting ideas that fit small spaces (without triggering sensory overload)
Lighting is often the highest payoff change in compact rooms because it influences arousal quickly. However, the wrong lighting can worsen behaviour. For autism and sensory processing disorder, many children respond best to dim, steady, or smoothly changing visuals rather than fast strobe effects or highly reflective surfaces positioned at eye level.
In small spaces, the goal is controlled, directional light. Wall-mounted or high-placed projectors reduce glare, while dimmable options help caregivers match the child’s current threshold. A reliable practice is to pre-set “quiet light” and “active light” profiles so transitions are fast and consistent.
Three lighting concepts that work well in tight rooms
1) Projected skies and slow movement: a projector can fill the visual space without taking floor area. Projectors such as Sunset Lamp can be used as a calming cue at bedtime or after demanding tasks.
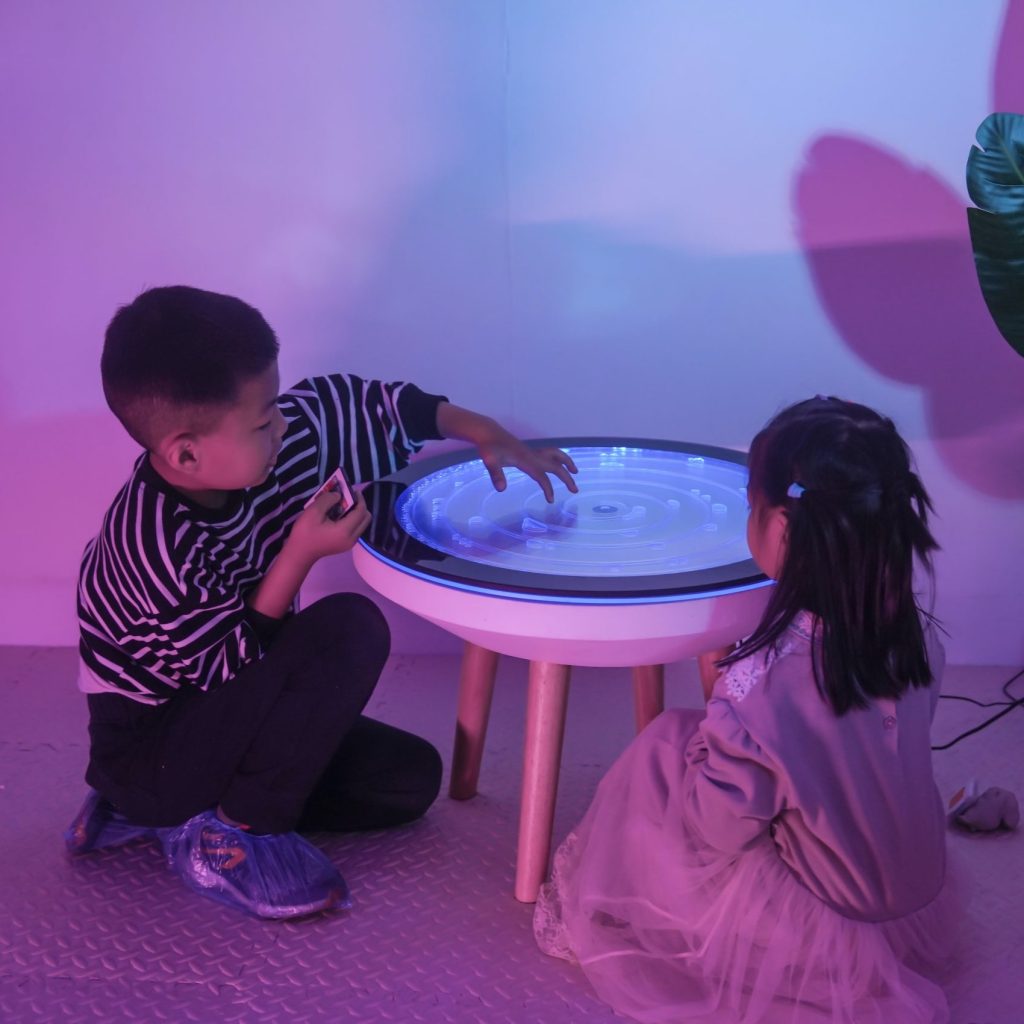
2) Touch-activated or low-risk cues: children who need predictable cause-and-effect may benefit from responsive lights. A tactile option such as Sensory Wall Touch Lights can be introduced gradually so the child learns when it is appropriate to use.
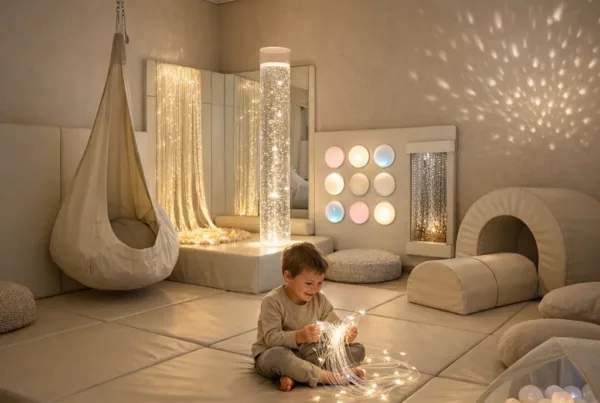
3) Soft corners with controlled shimmer: for many families, liquid or bubble visuals provide calming stimulation without requiring active play. Bubble visuals are especially useful for children who fixate on motion. Consider a compact option like Bubble Tube Tank Vortex Tower, positioned so the child can watch from a safe seating distance.
Lighting safety and placement rules
Place lights away from direct line-of-sight if glare triggers distress. Avoid high-glitter surfaces at face height. Use warm, neutral colour settings before introducing bright colours as a “rewarding” stimulus. For children with epilepsy risk, avoid rapid flashing modes and follow medical guidance.
Set a simple “light off” rule. When a child is dysregulated, caregivers should control the lights until the child’s behaviour stabilises. This reduces the common pattern of the child turning on every effect in an attempt to self-regulate and then escalating distress.
Sound and acoustic control: make silence possible
Sound is often underestimated in small sensory rooms. Even a calm setup can fail if the room is acoustically harsh—echoing hard floors, reflective walls, or ongoing household noise. For autism and ADHD, unpredictable noises can trigger flight, fight, or freezing responses that look like “defiance” but are actually overload.
In small spaces, sound control should be layered: absorb reverberation, reduce external noise, and provide optional sound regulation. This can be done without turning the room into a sealed booth.
Actionable steps to improve sound in a compact room
Step 1: Add soft surfaces where footsteps echo—rug, thick play mat, and padded wall panels where appropriate. A rug also helps with proprioceptive grounding for children who need firm pressure cues.
Step 2: Cover hard surfaces near the child’s position (bookshelves, radiators) with fabric or acoustic-friendly materials that don’t add clutter.
Step 3: Use a consistent low sound source when helpful—but avoid constant loudness. Many therapists recommend “quiet background” rather than “sound for entertainment,” because the goal is regulation, not distraction.
Step 4: Keep noise-making items in a separate container. If a child chooses them while dysregulated, stimulation can snowball. Provide a fidget or tactile tool instead for the early stage of calming.
Touch, movement, and fidgeting: choose one primary outlet
Small sensory rooms work best when each zone has a single primary job. Touch can be calming (textures, weighted pressure, tactile walls), while movement outlets can be organising (pushing, stepping, gentle rocking, or controlled spinning). When multiple competing outlets are offered at once, children can become overstimulated or stuck in repeated “trying everything.”
For ADHD and sensory seeking profiles, movement placement is crucial. A movement option that is too far from the child’s entry point can lead to agitation because the child cannot access regulation quickly. For sensory-avoidant profiles, movement stimulation must be optional and predictable, not forced.
Small-space movement ideas that don’t dominate the room
Option A: Compact tactile stepping or activation paths: short stepping lines can fit along a wall. A small set such as 6 Stackable Balance Sensory Stones can create a controlled movement task that children can complete in under a minute.
Option B: Movement seating for regulation: when the child needs vestibular input, a seating option placed beside the calm anchor often works better than a separate “busy corner.”
Option C: Bubble tube viewing as “passive movement”: for some children—especially those who like rhythm—watching moving bubbles provides soothing motion. This can be used while the child remains seated, reducing space demands. For example, consider Bubble Tube Tank when a compact viewing station is needed (ensure safety and supervise always).
Touch ideas that fit on shelves and seats
In small rooms, tactile tools should be accessible but limited. A good approach is to select one tactile texture family: soft pressure, firm resistance, or varied fidget textures. For example, a squeeze toy can provide immediate input without requiring the child to roam. A classic example is Schylling NeeDoh Nice Cube for quick sensory “hand pathway” regulation.
For older students or therapy clients who dislike loose items, wall panels and tactile frames can be more comfortable. The space remains tidy while offering consistent input.
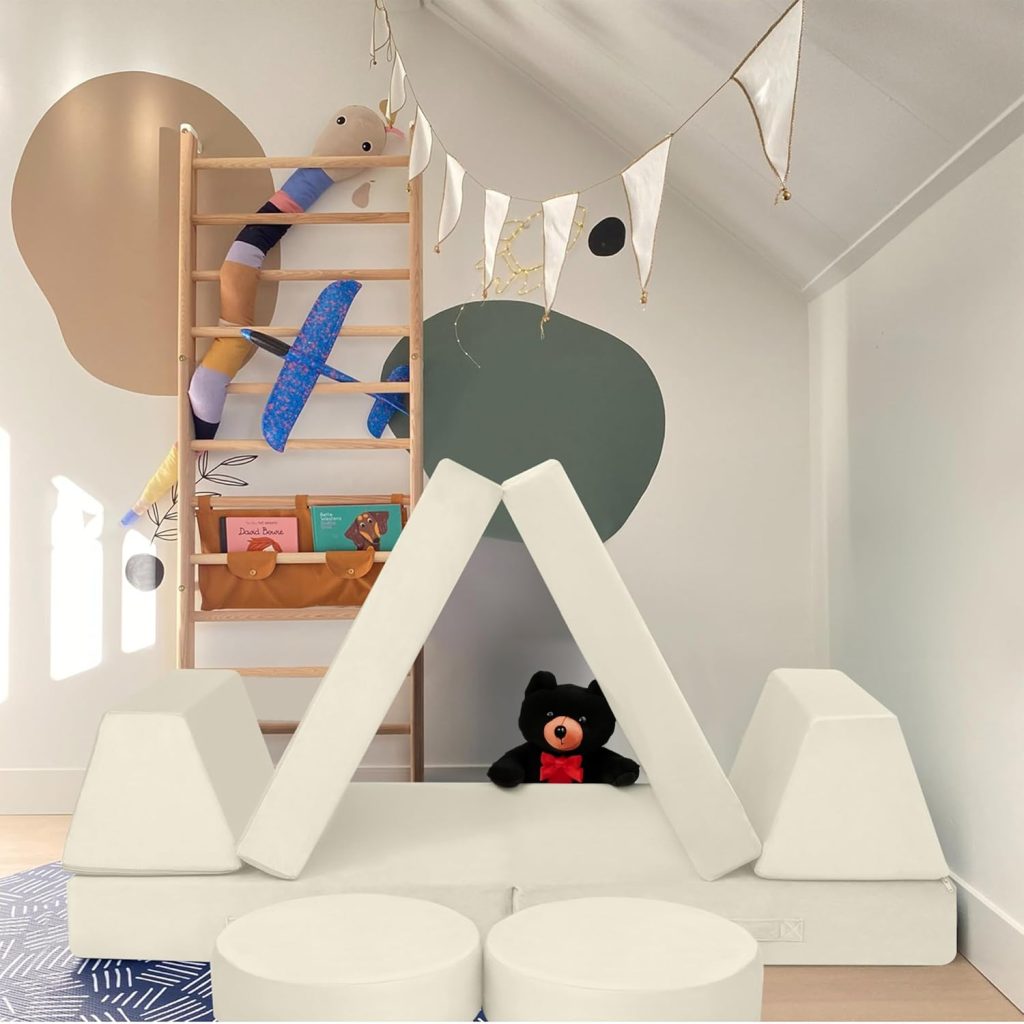
Furniture choices: fewer pieces, flexible functions
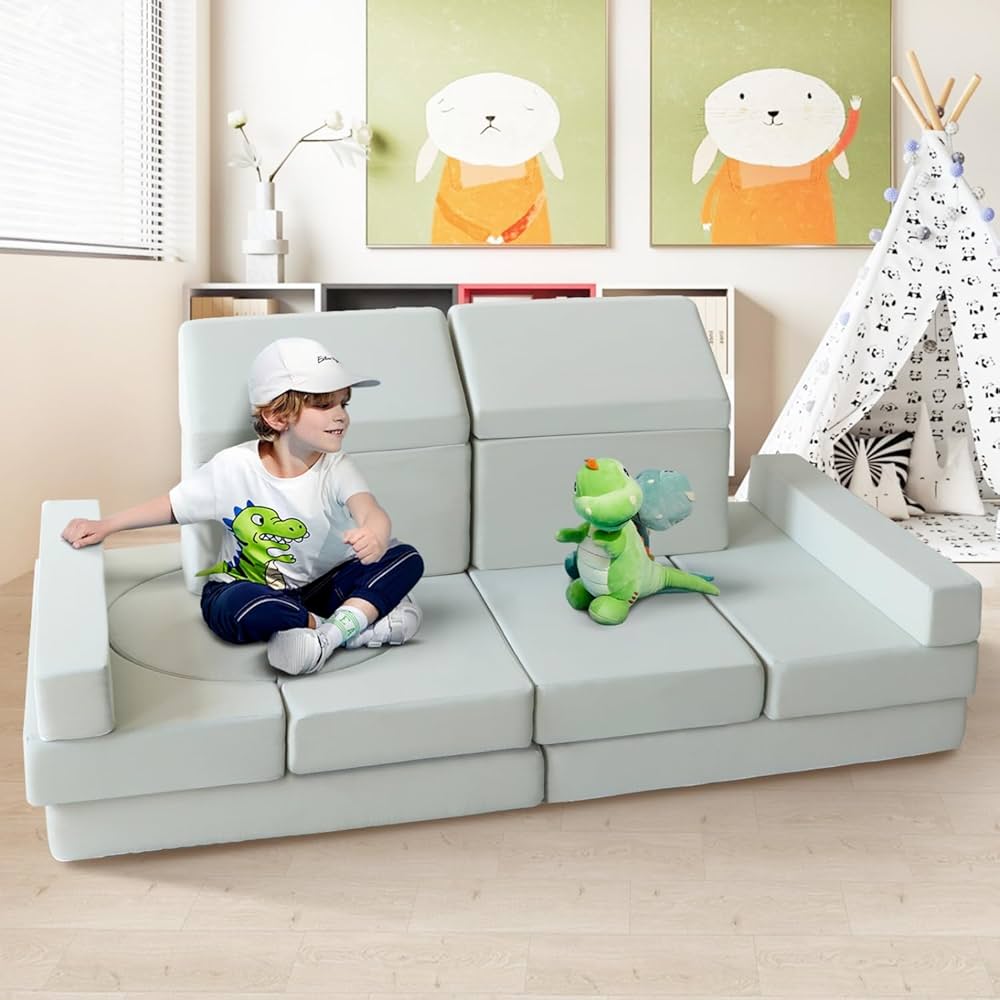
Furniture often becomes the hidden barrier in small rooms. Bulky beanbag chairs, oversized towers, and multiple storage cabinets can shrink usable floor space, creating pinch points and trip risks. Compact sensory rooms should use furniture that serves multiple purposes: seating + safe boundary + calming anchor.
For example, a modular play sofa can double as a “safe boundary” and as a platform for sensory items placed on a side table. A compact option like Kids Modular Play Sofa can reduce clutter because it replaces multiple separate pieces.
In educational settings, durability and ease of cleaning matter. In home spaces, comfort and attachment matter more. The best furniture is whichever supports the child’s willingness to use the room as a coping strategy rather than a last-resort escape.
Safety upgrades that are essential in tight layouts
Even small sensory rooms must be designed for safe movement and caregiver supervision. Choose rounded corners, secure furniture to the wall when possible, and use anti-slip flooring. If children frequently crash into corners, padded wall protection reduces injury risk. For example, use wall padding systems or corner protectors such as an anti-collision solution like Anti Collision Wall Padding to protect the child during high arousal.
Also prevent cable hazards by routing cords behind furniture or using cable covers. A visually busy cord line can be a cue for toddlers or a snag risk for older children.
Using sensory rooms for different needs and settings
Compact sensory rooms can be adapted for home, school, and therapy settings. The core principles remain: predictable zones, adjustable input, and short, safe regulation cycles. What differs is how caregivers access the room, how long the child stays, and which sensory inputs are most appropriate.
For autism and sensory processing disorder, the room should emphasise predictability and reduced ambiguity. For ADHD, the room can include brief movement tasks and quick fidget access. For dementia-related conditions, the focus shifts to soothing, familiarity cues, and reduced agitation triggers, which means simpler visual input and warmer lighting are often more helpful.
Home scenarios
At home, small sensory rooms often replace “random quiet time” with intentional regulation. A common pattern is using the calm zone after bath, during homework attempts, or before bed. Bubble viewing and soft projected lights can be used as consistent cues that signal the child’s day is winding down.
When space is limited, families often integrate the sensory room into an existing corner. A storage bin with a “quiet toolkit” reduces daily clutter while keeping items ready for use.
School and clinic scenarios
In educational settings, the sensory room must support fast recovery during the school day. Staff may need to reset the environment between learners quickly, so fewer tools and easy-clean surfaces make a measurable difference. A small shelf system for sensory items helps staff locate the correct tools without searching.
Therapists may use compact sensory setups as part of an intervention plan. For example, a therapy session might begin with 2 minutes of tactile focus and end with a visual calming cue, creating a clear structure within the child’s day.
Common mistakes in small sensory rooms (and how to avoid them)
Small spaces amplify design mistakes because there is less buffer between sensory inputs and fewer safe “escape routes.” The most frequent issue is unintended sensory escalation: adding too many visual effects, using loud sound sources, or placing stimulating items directly next to the calm seat.
Another common mistake is designing for “when everything is calm” but not for “when everything is escalating.” A sensory room should be practical under stress. That means lights and tools must be reachable, simple to operate, and safe for the caregiver to manage during heightened arousal.
Five mistakes to prevent
Mistake 1: Too many items visible.
Keep only essential tools on display. Store extras out of sight or rotate them later when routines are stable.
Mistake 2: Bright, competing sensory effects at the same time.
Use one primary sensory channel per session (visual OR tactile OR movement).
Mistake 3: No clear “start and stop” routine.
Set a timer for short regulation cycles and return items to a known “home” location.
Mistake 4: Ignoring safety clearance.
Leave a clear pathway and use anti-slip mats to prevent falls on rugs or uneven flooring.
Mistake 5: Treating it as a punishment or reward only.
The room should become a taught coping strategy—consistent access increases effectiveness.
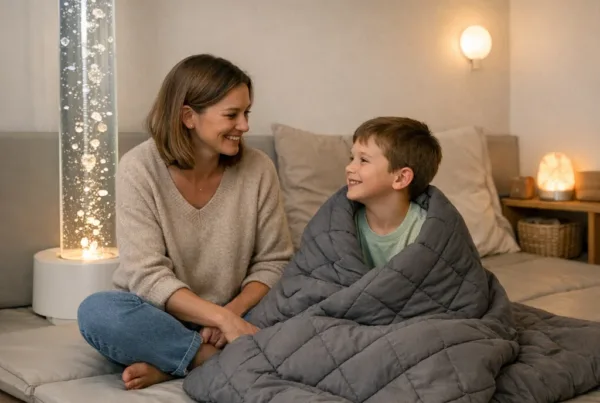
Evidence-informed guidance and caregiver confidence
Sensory regulation supports behaviour and learning by reducing stress load. For example, a widely cited statistic from the US Centres for Disease Control and Prevention reports that approximately 1 in 36 children in the United States are identified with autism spectrum disorder. With such high prevalence, sensory-informed environments are increasingly relevant across home and education settings (Caution is advised: prevalence varies by location and methodology.) https://www.cdc.gov/autism/.
In practice, the most effective small sensory rooms are built iteratively. Observing what helps (and what worsens) under real conditions leads to better outcomes than trying to predict preferences before the space is used. A simple “tool trial” log—date, trigger, what was used, what happened next—helps caregivers make adjustments without guessing.
Quick starter package: three compact designs to copy
When time is limited, a copyable template reduces planning anxiety. The following three designs are intentionally simple and adaptable for autism, ADHD, and sensory processing disorder profiles.
Design 1: “Calm corner” (best for shutdowns and sensory avoidance)
One seat, one soft visual, one tactile option. Position a dimmable projector overhead or high on a shelf and add a tactile squeeze tool within reach. Keep the rest of the room quiet and uncluttered.
A compact visual tool like Galaxy Projector plus a single tactile item often creates a reliable “off-switch” routine.
Design 2: “Regulate + move” (best for ADHD and energetic outbursts)
One movement strip along the wall, one stable seating point, and short timed sessions. Add tactile stepping or a brief balance activity to help organise body control.
A compact movement add-on like 6 Stackable Balance Sensory Stones can be used as a quick “reset task” rather than a long play activity.
Design 3: “Passive motion observer” (best for children who calm with visual rhythm)
Some children struggle with active play during stress but respond well to steady motion visuals. Place a bubble viewing station where the child can choose to watch from a seat.
A compact bubble visual like Bubble Tube Tank can support brief calm-down periods, especially after transitions.
Frequently Asked Questions
How small can a sensory room be and still work?
A sensory room can be as small as a defined corner with two zones: a calm seat and one regulating tool. The effectiveness depends more on predictability and controllability than on square footage. Keeping sensory input limited prevents overload in compact spaces.
What are the best sensory room ideas for autism in a small space?
For many autistic children, steady, dim lighting and predictable zones work well. A calm seat plus one visual cue (like a projector) and one tactile tool (like a squeeze item) usually outperforms crowded setups. Consistent “start/stop” routines help the child use the room independently.
Should sensory room lights always be on?
No. Sensory rooms should support different arousal levels, so lights should be switchable and adjustable. Caregivers often find that using a single light profile (quiet mode) reduces sensory escalation during distress.
What sensory tools help the most in limited space?
Tools that deliver sensory input without taking floor space tend to be most useful, such as wall-placed activity panels or high-placed projectors. Tactile items that stay within reach—like squeeze fidgets—also reduce the need for roaming and protect safe clearances.
How long should a child use a sensory room during meltdowns?
Most compact sensory-room routines work best in short cycles (often 5–10 minutes) with clear “reset and return” guidance. Caregivers should control intensity first, then support the child in choosing calmer tools as regulation improves.
Can sensory rooms support ADHD as well as autism?
Yes. ADHD-related sensory needs often benefit from short movement tasks and quick-access fidgeting options. A movement strip or structured stepping activity can help organise attention when used for brief, timed regulation.
What safety measures are essential in small sensory rooms?
Anti-slip flooring, a clear walking pathway, secured cords, and padded surfaces where bumping occurs are essential. Small rooms increase collision risk, so safe boundaries and simplified layouts matter as much as the sensory tools.
If planning guidance is needed around age and readiness for sensory room use, resources like at what age should a child start using a sensory room? can help caregivers align expectations with developmental stages.