Table of contents
Sensory rooms are designed to help people with autism, ADHD, sensory processing disorder, dementia-related behaviours, or anxiety regulate through tailored stimulation. However, common safety mistakes in sensory rooms—especially involving sensory intensity, physical hazards, and supervision—can turn calming spaces into triggers or injury risks. With hands-on practice in home, school, and clinic settings, it becomes clear that “sensory” must always be paired with “safe.” This article details the most frequent safety errors seen in sensory rooms and provides practical ways to prevent them.
Highlights
- Over-stimulation (too bright, too loud, too fast) is a leading safety risk and can escalate behaviours.
- Poor layout and unstable equipment create trip, pinch, impact, and entrapment hazards.
- Unclear rules for access, supervision, and sensory transitions often cause unsafe use.
- Cleaning, materials, and maintenance errors can create choking, skin, and infection risks.
- Failure to plan for emergencies and “escape routes” undermines real-world safety.
Defining “safe” in a sensory room
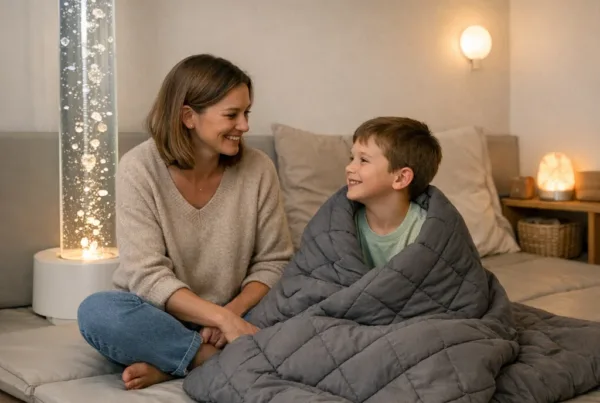
A sensory room is a controlled environment where sensory input is modified to support regulation—through strategies like reduced visual noise, predictable tactile options, and calming movement. In practice, safety means more than preventing injury: it includes preventing sensory harm. For many individuals on the autism spectrum, “safety” includes avoiding sensory overload that can lead to shutdown, panic, aggression, or elopement-like behaviour.
Clinicians and experienced educators often frame safety as three layers: (1) physical safety (no trips, falls, entanglement, or breakables in reach), (2) sensory safety (no excessive brightness, volume, flicker, or strong aversive odours), and (3) behavioural safety (clear access rules, predictable routines, and staff readiness to de-escalate).
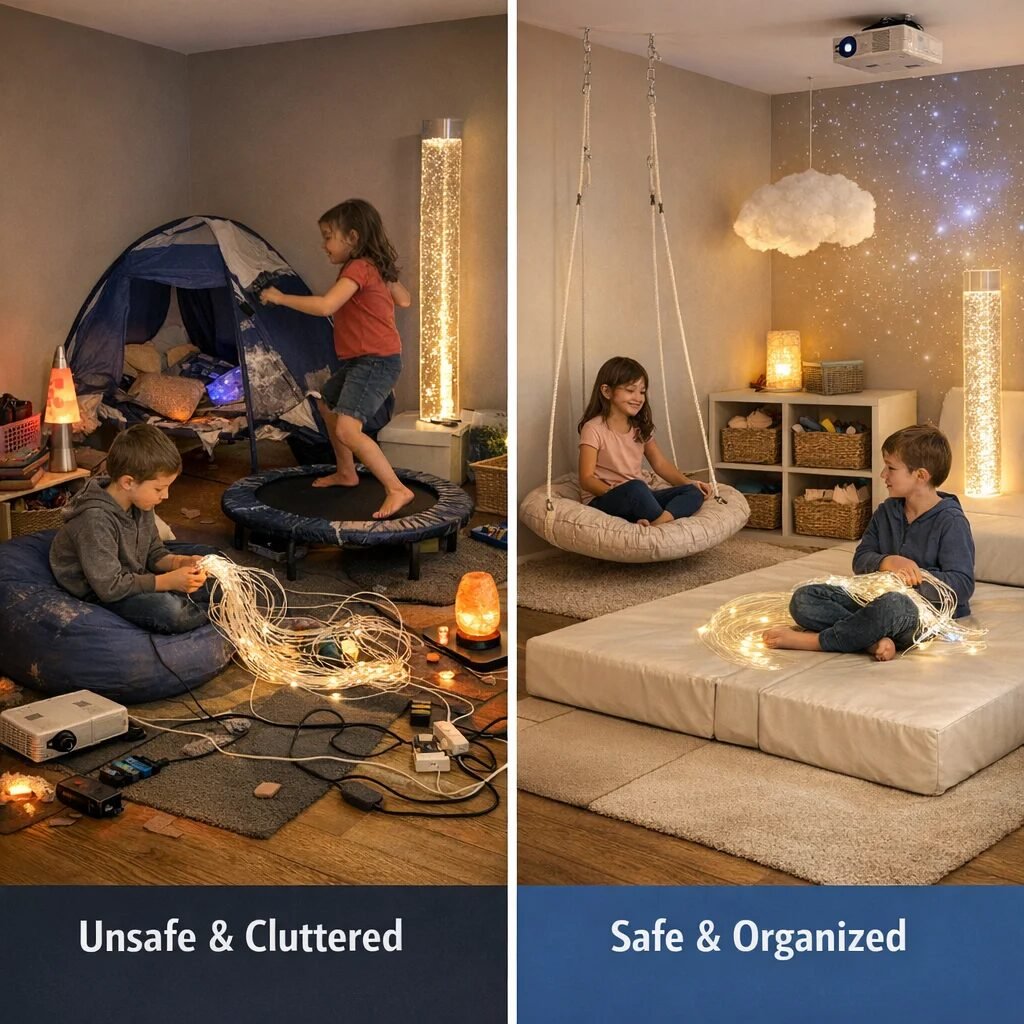
Consider a quick comparison seen in real setups. A poorly designed room might include multiple intense lights, a loud sound feature, and an unstructured “try everything” approach. A safer room usually uses one or two controllable stimulus sources at a time, with staff choosing intensity based on the person’s current arousal level and communication needs.
Safety mistake #1: Over-stimulating with “too much, too soon”
One of the most common safety mistakes is assuming that because an item is marketed for sensory use, it is automatically calming. Many sensory tools increase sensory load: moving bubble tubes, colour-changing LEDs, fibre-optic style effects, mirrored tunnels, and rhythmic lighting can become overwhelming quickly. For some autistic learners and adults, sensory overload looks like rushing, covering ears, pacing, or sudden refusal—behaviours that can become dangerous if the room also contains physical hazards.
A frequent scenario in schools is adding several features at once: a projector, a lava lamp, and a dynamic wave wall light, all running continuously. Staff may intend variety, but the person experiences constant novelty and motion. In a clinic trial, a child repeatedly attempted to climb into the visual area near a tunnel light after the lights were switched on to “try something new.” The fix was not “remove everything,” but reduce complexity—using a single motion feature, lowering brightness, and introducing it for short, scheduled sessions.
How to avoid overload
Build a “one knob at a time” approach. If a room has changing lights, choose a mode that does not flicker. Use dimmable or remote-controlled lighting so intensity can be lowered quickly. For sound, prefer predictable, steady stimuli over sudden tones, and keep volume below what causes facial tension, flinching, or head turning away.
Schedule changes like medication timing: controlled durations, then a return to baseline. For instance, if a bubble tube vortex tower is used for regulation, it may be introduced for 3–7 minutes at first, followed by a quiet phase with still seating and low stimulation.
Where dim comfort lighting is needed, some families choose gentle projection options such as a gradual galaxy effect. A practical example is a POCOCO galaxy projector—then pair it with stillness during the “downshift” phase rather than running every effect at once.
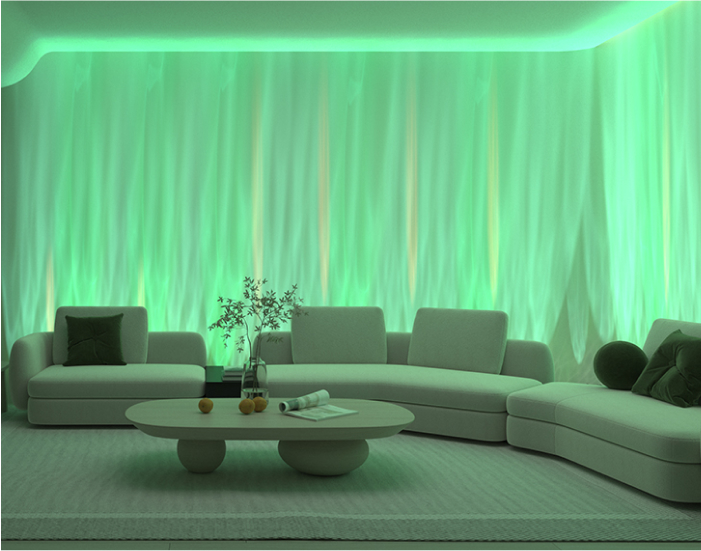
Safety mistake #2: Unsafe lighting—brightness, flicker, and placement
Lighting-related accidents are both physical and sensory. Physically, lights, power cords, and adapters can create trip hazards. Sensory-wise, bright LEDs, fast colour cycling, and flicker patterns can trigger light sensitivity. In some autism profiles, flicker is particularly challenging because it can pull attention intensely and destabilise regulation.
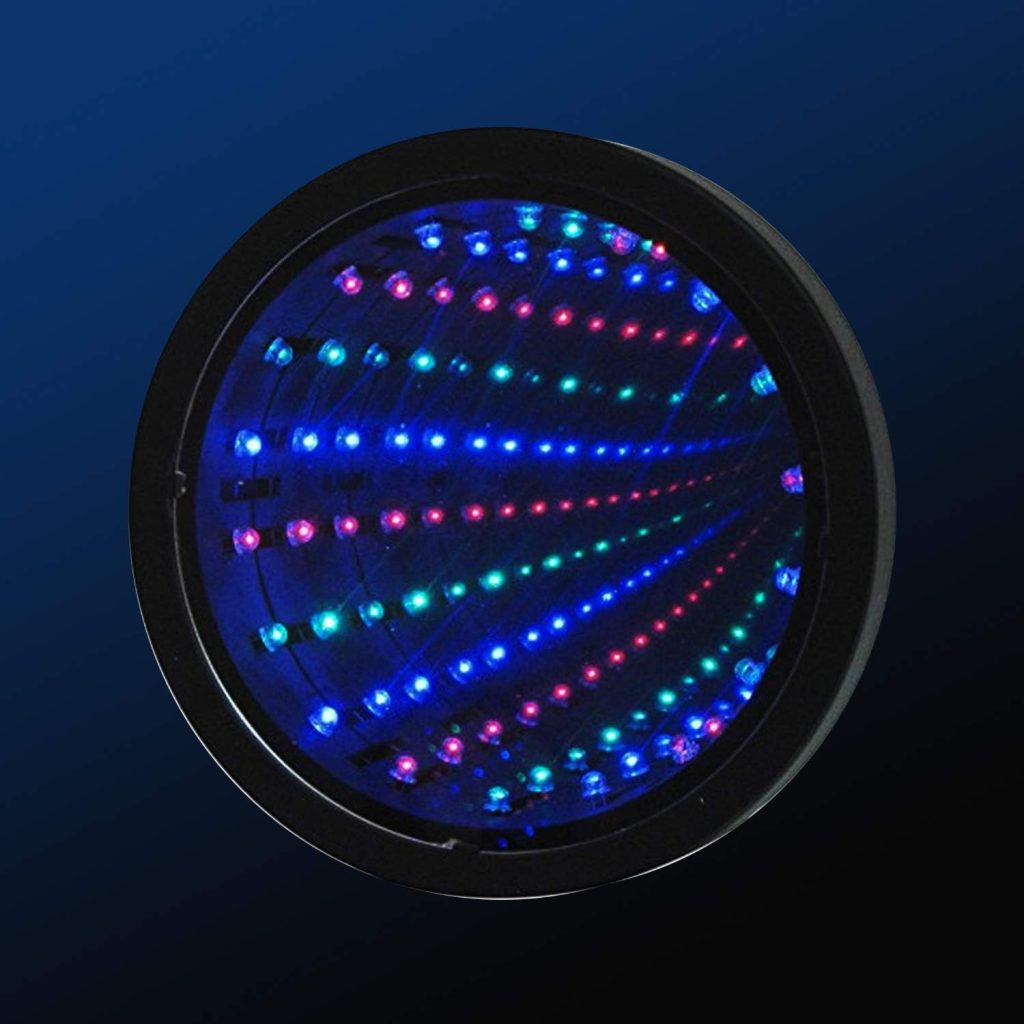
Placement errors are common: lights are mounted too low, positioned where a person can reach and pull, or placed directly in a line of sight without a “safe viewing zone.” A child may slam their head against hard surfaces while chasing reflective effects in an infinity mirror tunnel, especially when staff are not present inside the room.
What to do instead
Use low-glare, diffused lighting and keep light sources out of reach. All cords should be secured high, covered, and designed so they cannot be pulled down. If motion lighting is used, set it to a steady, slow mode whenever possible.
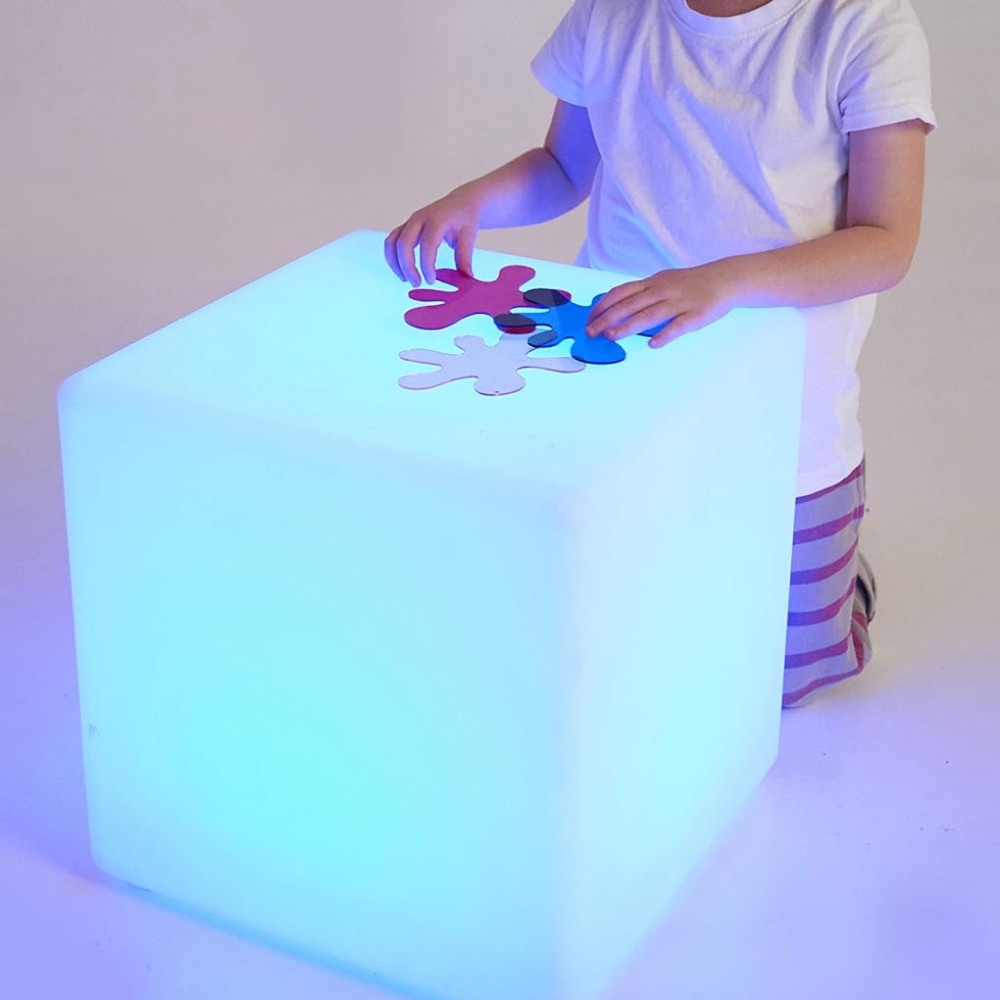
Many rooms use controlled mood lighting like a Sensory Mood Light Cube as a contained, predictable stimulus rather than a high-intensity display. When using anything that changes colour, ensure there is a way to switch quickly back to a neutral, calming state.
Safety mistake #3: Poor floor planning (trips, falls, slip risks, and entanglement)
The sensory room floor is not “just flooring.” It is the main collision zone for people who pace, stim vigorously, or run when overwhelmed. A common mistake is using rugs over hard floors without anchoring them, creating edges that catch feet. Another frequent issue is placing heavy equipment close to the exit, so a person cannot move safely away from triggers.
Entanglement hazards also appear when soft items, tunnels, or sensory play fabrics are placed near cords, mirror edges, or moving devices. A spinning chair near a wall corner, for instance, can become an impact risk if the person spins into hard trim.
Step-by-step risk reduction
Step 1: Walk the room as if moving with limited awareness—identify any cable paths around seating, bubble equipment, or projectors. Remove or reroute every cable so it stays behind furniture or along the wall using covers.
Step 2: Test the floor with realistic movement. If someone might pace quickly, confirm there are no curled rug corners, no loose mats, and no slippery surfaces under bean bags or foam blocks.
Step 3: Clear a “safe lane” to the door. A sensory room must include an accessible exit route when behaviours escalate—especially important for autism (escape-driven overload) and dementia (unpredictable wandering). Staff should be able to reach the person quickly without stepping into hazards.
Step 4: Add protective wall padding where impact is likely. Many families choose adhesive padding where appropriate, such as anti-collision wall padding to cover corners and reachable wall sections.
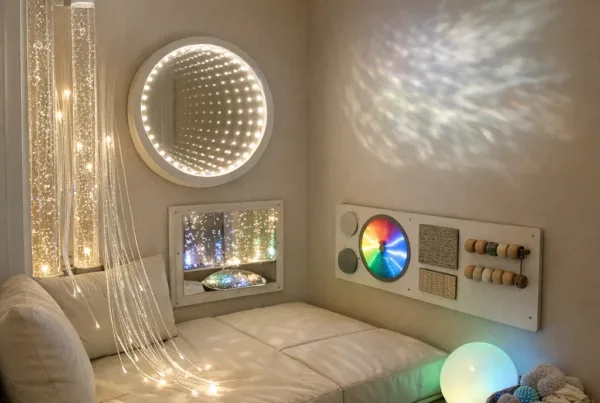
Safety mistake #4: Using mirrors and reflective surfaces without controls
Mirrors are often used to create visual engagement in sensory rooms, but they carry specific risks. Physically, cracked or poorly mounted mirror panels can cut. Behaviourally, highly reflective or infinite tunnel effects can escalate visual searching or fixation. For some autistic individuals, reflective stimuli can lead to intense, repetitive movement that increases fall and collision risk.
In a home setting, a family may love the “wow” factor of reflective tunnels but underestimate how quickly a person may run to re-check the reflections. When the room is unsupervised—common during short breaks or when parents assume the space is “safe”—the risk increases significantly.
Safer approaches
Use acrylic or shatter-resistant mirror-style panels and mount them securely. Position reflective elements so they are not in the immediate path to the door. Provide mirrors as an optional activity station rather than the dominant feature covering multiple walls.
If reflective features are desired, some rooms use controlled tunnel-style lighting systems. For example, a infinity mirror tunnel lamp can be used for brief guided exposure, with staff controlling duration and brightness.
Safety mistake #5: Unsafe water and airflow features (e.g., bubble tubes and tanks)
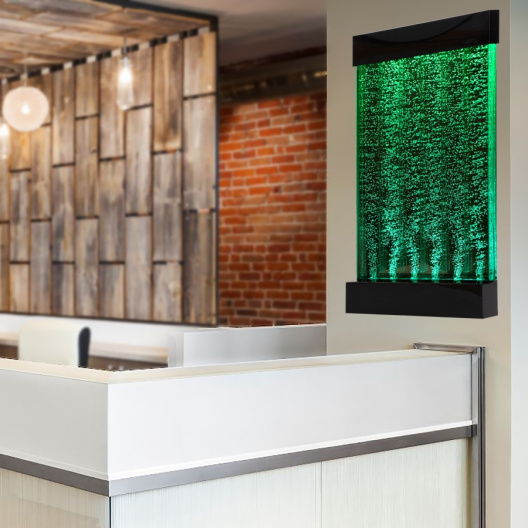
Bubble tubes, vortex towers, and aquarium-style installations are popular because they combine visual and tactile anticipation for many people—especially those who seek visual tracking. Yet these features can become unsafe if they have leaks, slippery bases, unsecured tanks, or electrical components too close to splash zones.
In busy therapy rooms, a common error is placing bubble tube corners where staff may not be able to intervene quickly. If tubing or brackets loosen, the device can tip. Additionally, some users may attempt to climb onto stands, creating extreme fall risks.
Preventing hazards with water-based tools
Secure equipment to stable bases and check brackets weekly. Keep devices away from edge seating where feet could step onto wet surfaces. Use cable management so power never lies within reach. If a bubble system is used, staff should treat it like a “controlled station,” not an everywhere attraction.
For example, a Bubble Tube Tank Vortex Tower should be positioned where the base cannot be kicked and where spills would not travel into an exit route.
Also, monitor for slippery residue around the base. Even small leaks can cause slips that lead to head injuries, particularly for children with less protective reflexes.
Safety mistake #6: Choosing toys and textures with choking, ingestion, or skin risks
Texture play is a cornerstone in sensory rooms, but safety mistakes occur when inappropriate materials are offered for a person’s age, swallowing risk, or skin sensitivity. Small parts, loose beads, or crumbly foam can become choking hazards. Some glitter-like materials shed and irritate skin or eyes—especially in people with sensory defensiveness or allergies.
For tactile tools, another frequent issue is skin contact without checking for suitable fabrics. Certain sensory bean bags, weighted items, and fabrics may trap heat or cause sweating in warm rooms, which can exacerbate discomfort and increase agitation.
Safer product selection principles
Match equipment size and part security to the person’s developmental level. Avoid items with detachable small components if supervision is limited. Prioritise washable fabrics and materials that can be cleaned without residue.
When families choose tactile squeeze tools for calming pressure input, a common option is a Schylling NeeDoh Nice Cube for supervised handling and quick “hand focus” during escalations. The key is not the product alone, but the supervision rules: the tool should be offered at the right tolerance level and removed if the person becomes rough or attempts to mouth it repeatedly.
Safety mistake #7: Unclear supervision and access rules
Some of the most serious incidents occur when sensory rooms are treated like “safe places” to leave children unattended. Adults or peers may assume the environment itself prevents risk. Yet sensory rooms can include movement equipment, reflective objects, furniture with pinch points, and expensive devices. Behavioural risk rises when a person enters in an escalated state and staff cannot respond quickly.
In schools, another common mistake is letting multiple learners use the room simultaneously without consolidated behavioural plans. Even if each item is safe, the social and movement variables multiply: “sharing” becomes unpredictable, leading to chasing, grabbing, and conflict around preferred equipment.
Set operational rules like a protocol
Define who can enter, how long they may stay, and how the room returns to baseline afterward. Use a simple checklist staff can follow: check lighting mode, check devices are stable, remove breakables, confirm the exit path is open, and apply a “stop signal” understood by the person (visual, verbal, or gesture).
For students with ADHD, impulsivity can cause rushing into equipment zones. For autistic students, sensory overload can reduce communication clarity. Rules must account for both: staff should maintain the ability to pause stimulation instantly and redirect safely.
Safety mistake #8: Poor cleaning, maintenance, and hygiene routines
Cleaning flaws can create respiratory, skin, and contamination risks. Foam blocks, soft play mats, and fabric seating can hold odours, dust, or allergens. If bubble tube equipment is used, biofilm or residue can develop and must be cleaned safely—without leaving chemicals that could irritate skin or trigger discomfort.
A practical issue in therapy settings: equipment may be cleaned “sometimes,” but not between different users with varying needs. In home settings, cleaning can be delayed when families follow a “quick wipe only” habit, especially around textured items.
A simple maintenance cadence
Use a predictable schedule: daily surface wipe for high-contact items, weekly deeper clean, and immediate spot cleaning after spills. Track maintenance dates for electrical devices and check for damage—especially after intense use.
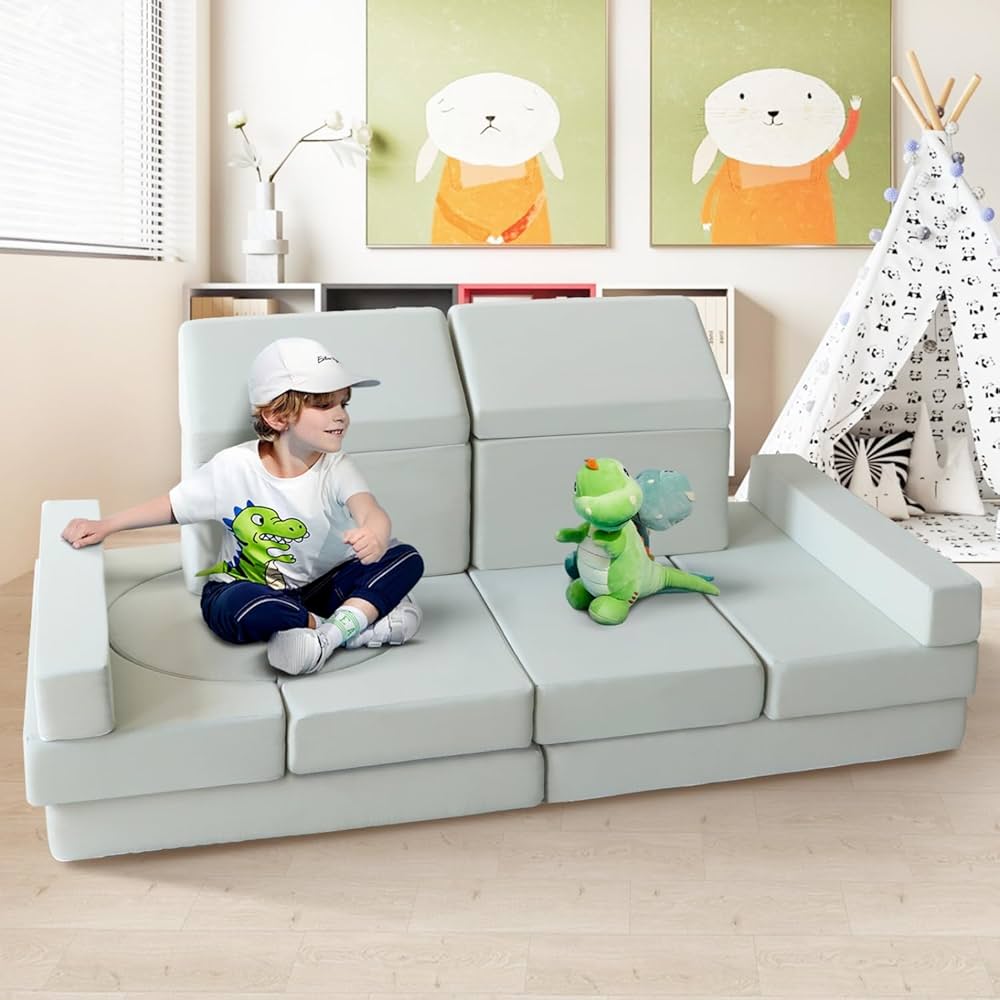
Where soft seating is involved, select durable options that can be wiped down or laundered. A Kids Modular Play Sofa can support a stable “stay zone” when it is placed away from sharp edges and cleaned on a regular cycle.
In multi-user settings, also separate equipment where possible (tactile tools, fidget items, and shared seating). This reduces cross-contamination and supports individuals who are sensitive to smells or irritants.
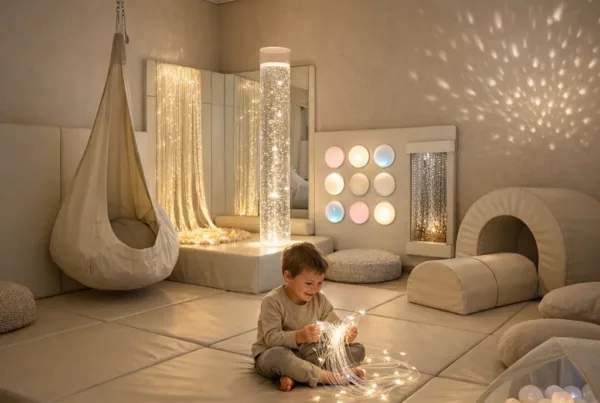
Adding sensory “calm” without compromising safety: effective vs poor setups
An effective sensory room is predictable, controllable, and easier to supervise. It uses fewer intense stimulus sources and makes it simple for staff to adjust in response to arousal. A poor sensory room often contains too many attractions, complicated tech, and items without clear “use guidance.”
For example, consider two setups for a child with autism who uses sensory tools to regulate. In the effective setup, staff present one calming focus (such as low light or a consistent projector) and one tactile station. In the poor setup, the room includes multiple simultaneous moving lights, a sound feature, and loose items within reach. The child may become overfocused visually, then escalate physically, increasing risk of falls or hitting hard surfaces.
A step-by-step “baseline build” for safer use
Step 1: Create a baseline. Decide on default lighting and silence level (or steady sound at low volume). Ensure it is comfortable for the person’s sensitivity profile.
Step 2: Add one sensory category at a time: visual, tactile, proprioceptive (movement pressure), or vestibular (movement). Movement-based items should be used only when staff can supervise closely.
Step 3: Include a soft landing zone. Use stable seating or a bean bag located where the person cannot tip it into hazards. Many rooms use tactile containment elements such as a sensory bean bag placed in a clear, supervised “reset” corner.
Step 4: Build in an “off switch.” Ensure staff can dim lights, stop motion, and remove or secure equipment quickly. This matters for ADHD impulsivity and anxiety spikes—when rapid reduction of stimulation can prevent escalation.
Safety mistakes that vary by setting: home vs school vs therapy
In home sensory rooms, the main risk often involves unsupervised access. Parents may trust the child’s routine (“he only goes in when calm”), but sensory states change unpredictably. Installing gates or using a clear “request entry” method can reduce unsafe moments.
In schools, the risk often involves staff capacity. A sensory room may be staffed by support workers with different training levels, meaning the sensory control plan is not consistently applied. A room designed for one period of the day may become unsafe during another when the learner’s sensitivity is different.
In therapy settings, technology and specialised equipment can increase physical hazards. Sessions may include movement or water features, and staff must manage both stimulation and physical stability. Equipment should be checked before every session—especially after rough use.
Safety checklist: quick review before using the room
Before the sensory room is opened for use (or when sessions begin), a quick check reduces preventable incidents. This is particularly useful for substitutes, new staff, or busy days when protocols are at risk of being skipped.
Checklist items should include: lighting mode checked for no flicker and safe brightness; cords secured and out of reach; exit route clear; floor free of loose mats; wall edges padded; any mirror surfaces intact; and any water-based equipment dry around the base. If a person enters in distress, prioritise lowering sensory input before offering tools.
For educators and therapists building a sensory room, further guidance can complement safety decisions, such as learning what makes an environment functional and effective. One helpful reference is key features of an effective sensory room.
Frequently Asked Questions
What are the biggest safety mistakes in sensory rooms for autism?
The most frequent mistakes are over-stimulation (multiple light and motion sources at once) and inadequate supervision when the person may escalate. Poor layout also matters—trip risks and hard edges combined with sensory distress can lead to injury.
Can sensory room lights cause meltdowns?
For some individuals, bright or flickering lights can trigger anxiety, sensory overload, or fixation that destabilises regulation. A safer approach uses dimmable lighting, low-glare placement, and short, guided exposure rather than continuous intensity.
Are bubble tubes and vortex tanks safe in sensory rooms?
They can be safe when equipment is securely mounted, electrical parts are protected from splash zones, and leak/spill risks are managed. Regular checks for stability and dry bases are essential.
How can sensory rooms be safer for ADHD students?
Safety improves when rules are explicit (entry/exit time, “stop” signals, and staff control of stimulation) and when floors are uncluttered. Movement-based equipment should not expose hard corners or encourage unsafe rushing.
What should be used for a safe calming corner?
A calming corner should have stable seating, predictable lighting, and reduced visual clutter. Tactile tools should be age-appropriate and supervised, and any soft items must not create entanglement or trap-like spaces.
How often should sensory room equipment be cleaned?
High-contact items should be wiped daily, with deeper cleaning at least weekly—or sooner when spills occur. Water-based systems require special attention to prevent residue build-up and irritation.
Authoritative sources and safety context
- World Health Organization reports that road and injury prevention strategies stress the effectiveness of risk reduction and environmental safety measures (WHO: Injuries and violence).
- Autism and sensory needs are widely discussed in clinical resources; sensory overload is an established concept in autism support frameworks (see NHS: Autism).
Creating a sensory room is ultimately a careful balancing act: the environment should reduce stress and support regulation, while staying physically secure in everyday use. By addressing the most common safety mistakes—sensory overload, hazardous layout, unsafe equipment setup, inconsistent supervision, and weak maintenance—parents, educators, and therapists can build spaces that truly help people feel safer, calmer, and more in control.